® Carlos Alguacil for Rittagraf
For excellent screen printing results, it's crucial to pay attention to the quality of the positive or film, work with a good emulsion, and ensure proper exposure. But the way we coat a screen printing frame has a much greater influence than we think.
Preparing the mesh before coating
Before we dive into the coating process, it's important to ensure that the screen printing mesh is prepared to receive the photosensitive emulsion. It's crucial that the fabric has been degreased and is completely dry. For more detailed information on how to prepare and degrease a screen printing screen, we recommend checking out this tutorial on how to preparate screen printing frame: step by step.
The emulsion scoop coater: an essential tool for applying screen printing emulsion
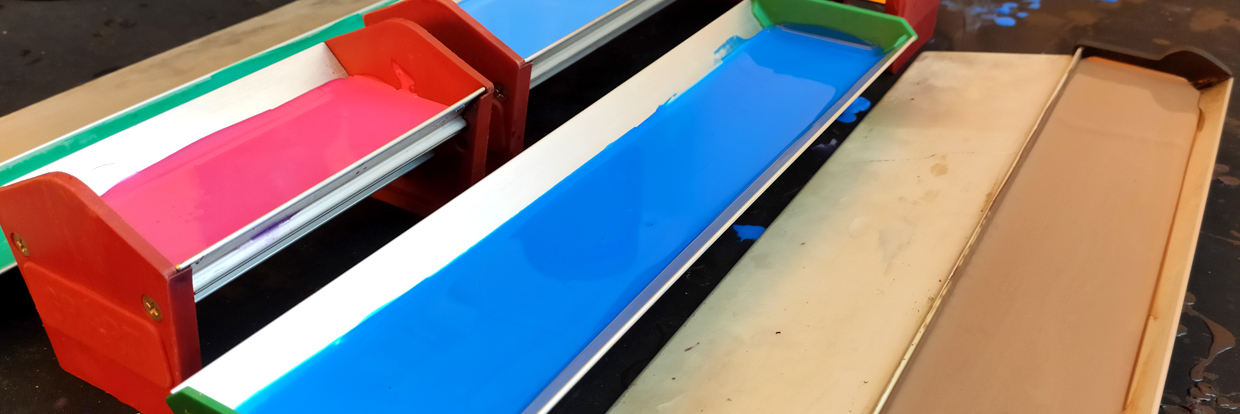
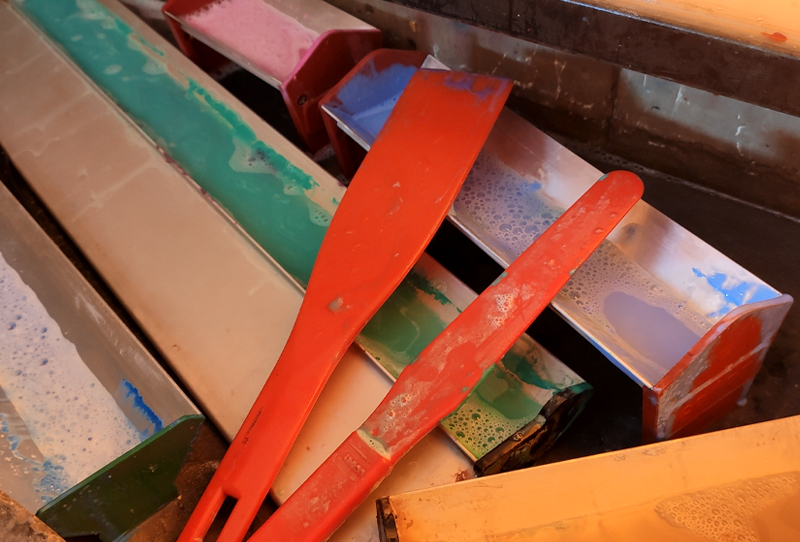
The tool we use for coating is known as a emulsion scoop coater, emulison coater, or emulsion applicator.
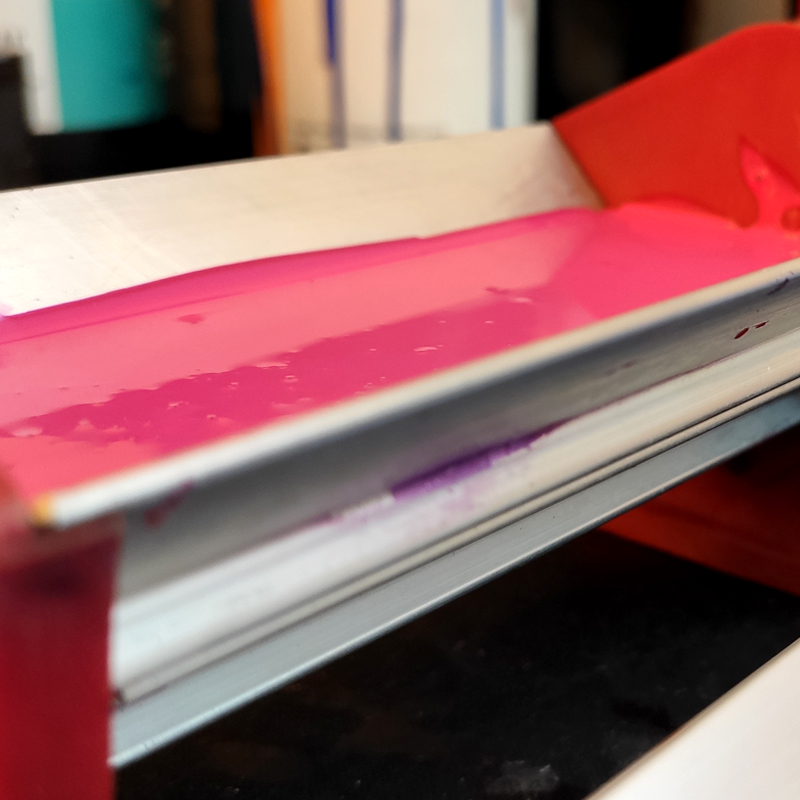
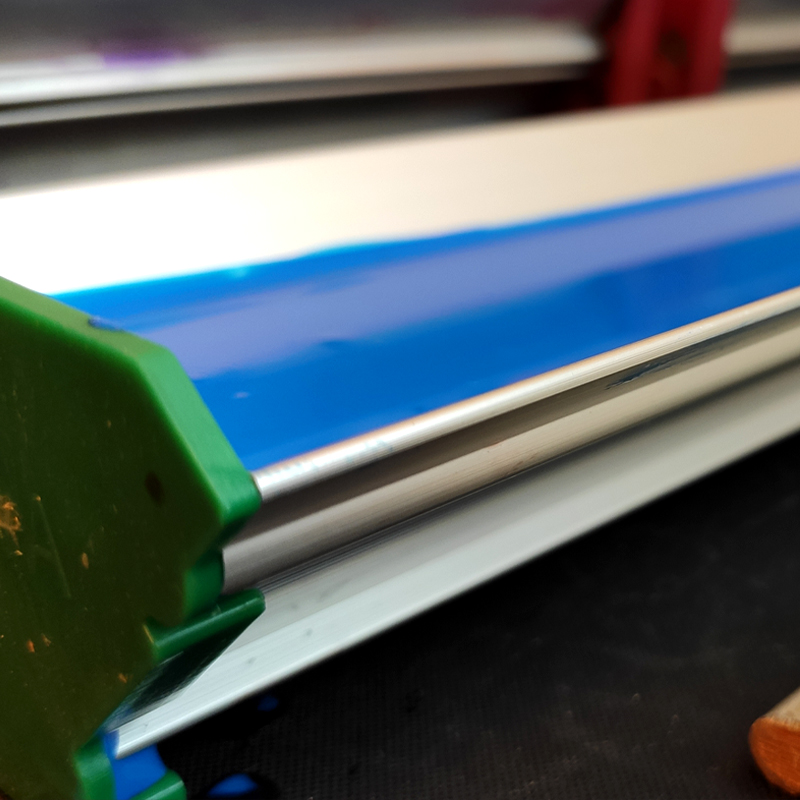
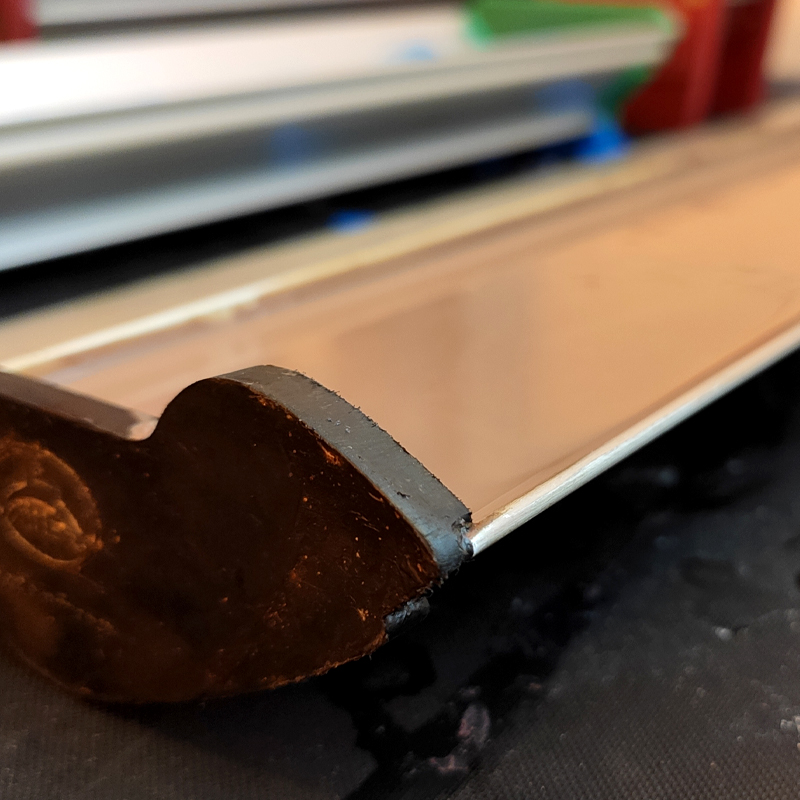
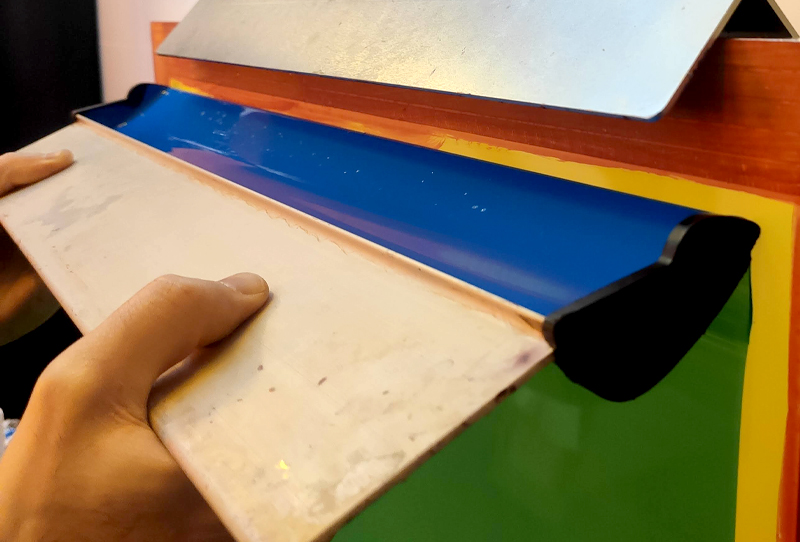
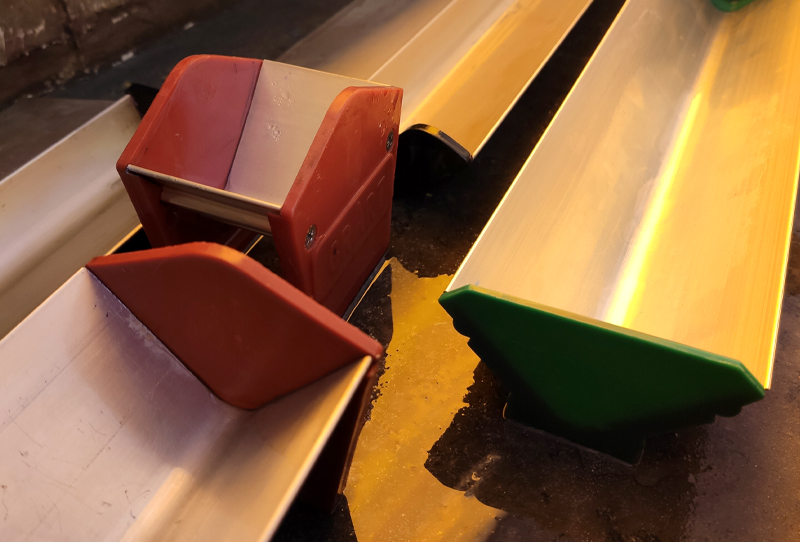
Emulsion scoop coater is a metal trough where we house the photosensitive screen printing emulsion, and it serves to apply a uniform layer of emulsion. This type of trough is typically made of aluminum or stainless steel, with a tubular V or U-shaped design and side covers to contain and prevent the photo emulsion from overflowing. The edge that comes into contact with the mesh must be completely blunt. Among other factors, the thickness and angle of the scoop coater profile determine the thickness of the deposited emulsion.
There are scoop coaters with one or two edges. The edge of the coater or emulsion applicator should always be clean and in contact with the screen. Any residue or notch on the edge can result in lines or variations in the emulsion thickness on our screen. Of course, the edges of the tool should have rounded corners. An applicator with sharp edges or narrow profiles can damage the mesh of the screens.




Choosing the size of the screen printing scoop coater
We need to find a scoop coater of the appropriate size for the screen we want to coat with emulsion. It should always be a few centimeters smaller than the internal size of the screen frame. If the scoop coater is too tight, we will need to apply excessive pressure, risking the fabric tearing at the sides.
The scoop coater can be much smaller, but it should never be wider than the internal size of the frame. It is recommended that the scoop coater be between 2 and 5 cm smaller than the frame. This way, we can make the most of the screen's working space. Naturally, the width of the scoop coater will determine the width of the image we can expose.
The darkroom or lab for coating emulsion
We must not forget that screen printing emulsions are photosensitive and react to UV light. It is crucial to avoid any intrusion of direct or indirect natural light into the space we are going to use for coating. The UV radiation from the sun is precisely what we aim to replicate with our screen printing exposure units. Just a few seconds of direct sunlight can ruin any type of screen printing emulsion.
Although it may not seem obvious, most artificial lights also emit small amounts of light waves that can damage emulsions. Therefore, we should also avoid coating near direct artificial light sources.
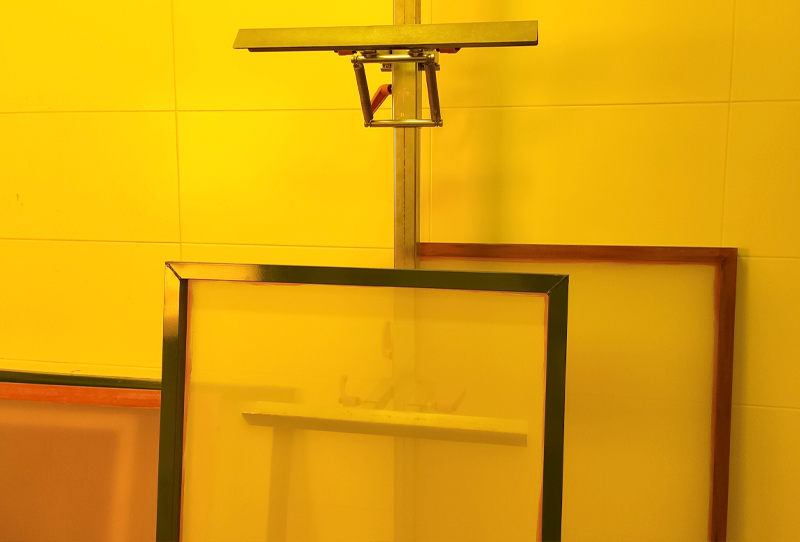
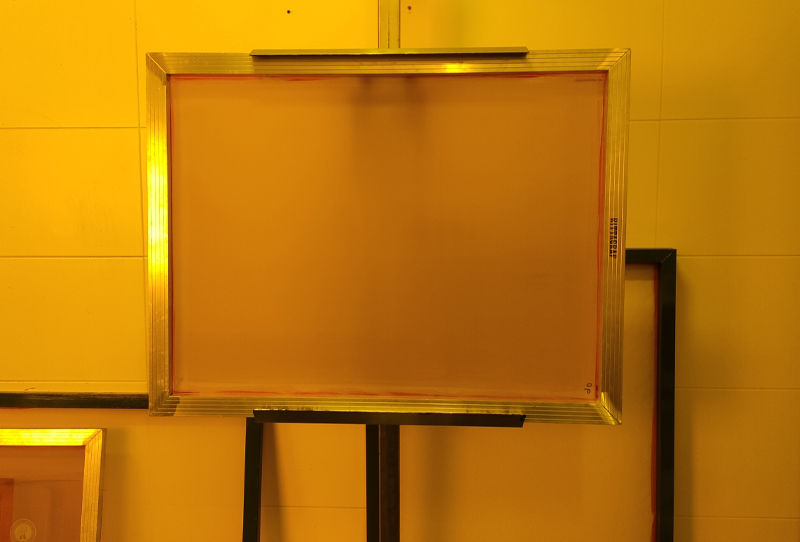
Our space for coating and handling screen printing screens should be free from windows and natural light sources, keeping our emulsions away from incandescent, fluorescent, or even LED lights. The ideal conditions for a screen printing lab would involve a space completely shielded from white light, using red or yellow light to improve visibility. This type of lighting does not affect photosensitive materials and allows us to work safely without damaging the emulsions. Yellow light provides better visibility than red light. We can obtain yellow bulbs and fluorescent lights or dye them with special lacquer for bulbs. There are also yellow covers available for fluorescent lights for this purpose. Setting up a small screen printing lab will allow us to work with greater safety. It will improve the coating process as we can see what we are working on without the fear of damaging the photosensitive material.
Nevertheless, as we will discuss later, it is possible to achieve highly professional results without the need for a dedicated screen printing lab. By taking the necessary handling precautions that we will explain further, you can still achieve excellent outcomes.


Preparing the screen printing emulsion before coating
We prepare the screen printing emulsion as follows:
- If it's a one-component emulsion: Stir it well and wait for any air bubbles to disappear.
- If it's a diazo emulsion: If it hasn't been activated yet, we need to mix the diazo with the rest of the emulsion according to the manufacturer's instructions. Before coating, we should wait for at least 1 hour, although it's preferable to wait for 24 hours. Again, follow the manufacturer's instructions.
Once the emulsion is prepared and free of air bubbles, we pour a generous amount of it onto the scoop coater or emulsion applicator. The emulsion should cover at least half of the trough's cavity. When applying the emulsion, there should be no air bubbles. So, if any bubbles appear when pouring it into the trough, we need to remove them using compressed air (by blowing) or with a clean spatula (making gentle movements along the scoop coater).
How to properly use the scoop coater and coat emulsion step by step
Here, we explain the correct use of the scoop coater, trough, blockout, or manual emulsion applicator. We provide a step-by-step guide on how to coat a screen printing screen with emulsion properly to achieve the best results and enhance our work.
Step 1: The scoop coater in contact with the screen
To coat the screen with emulsion, we need to hold the screen in a vertical position. We can use a tool to help maintain this position (emulsion station), or we can do it manually.
We always start coating from the outer part of the screen (printing side) and finish on the inner part of the frame (squeegee side). We do this because the majority of the emulsion thickness should be on the outer face. We need the emulsion thickness to be on the side where the ink thickness will be deposited, the one that will be in contact with the surface.
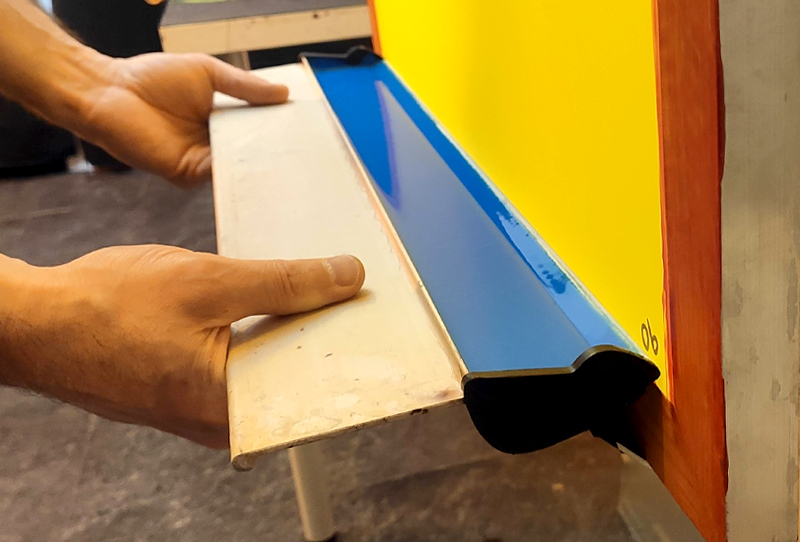
If we have a tool or someone helping us hold the screen, we can grip the scoop coater with both hands. This is the recommended approach. If we don't have assistance, we can hold the frame with one hand while manipulating the scoop coater with the other.
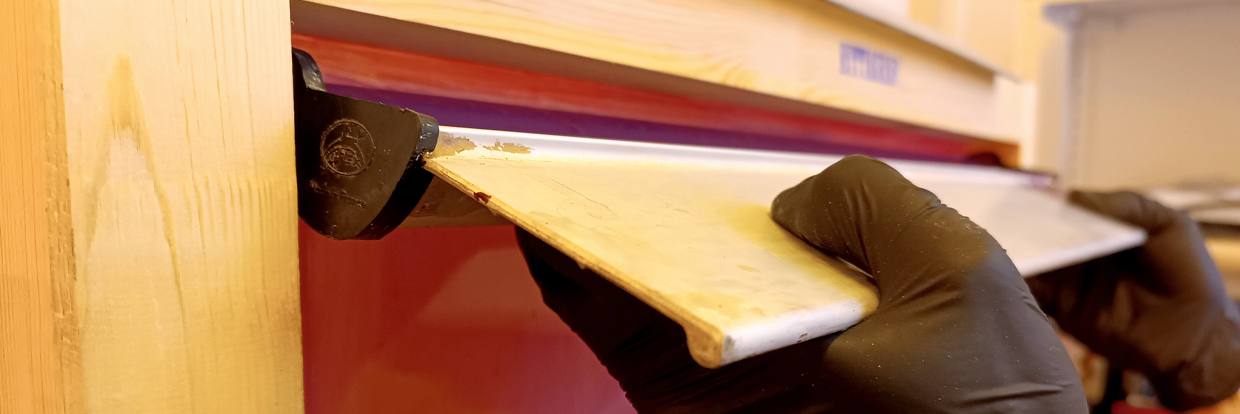
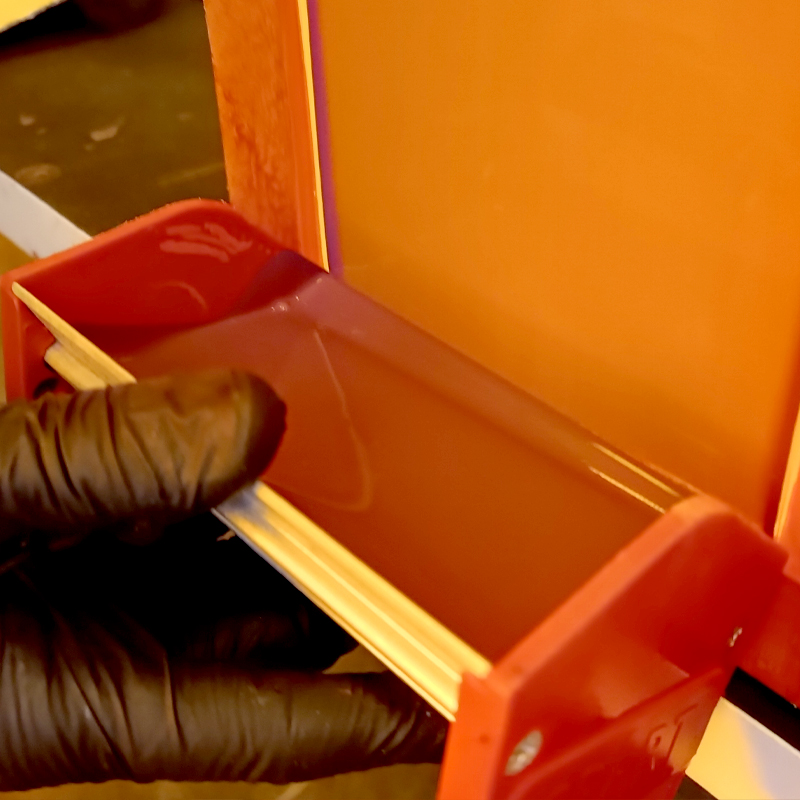
We place the edge of the scoop coater in contact with the outer part of the screen. Once the edge is positioned on the screen, we tilt the scoop coater downward at about a 45-degree angle until the emulsion touches the screen. Most of the side caps on scoop coaters indicate this angle.

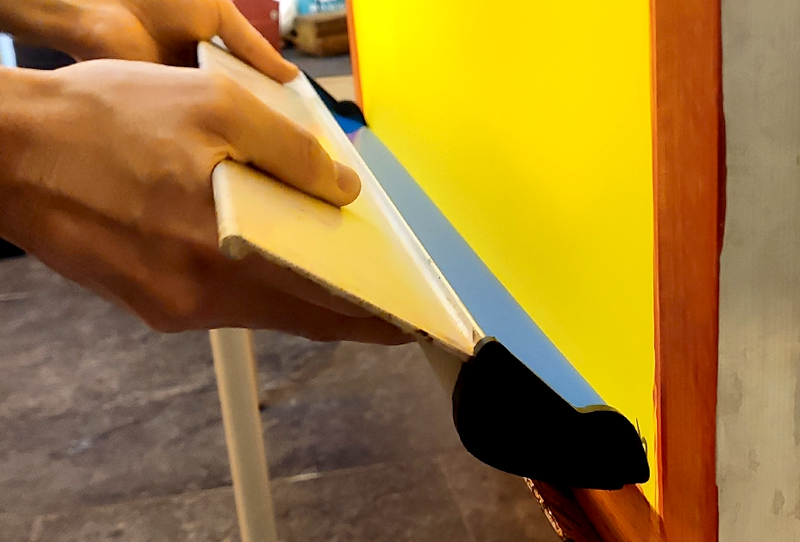

Step 2: Apply pressure and move upward
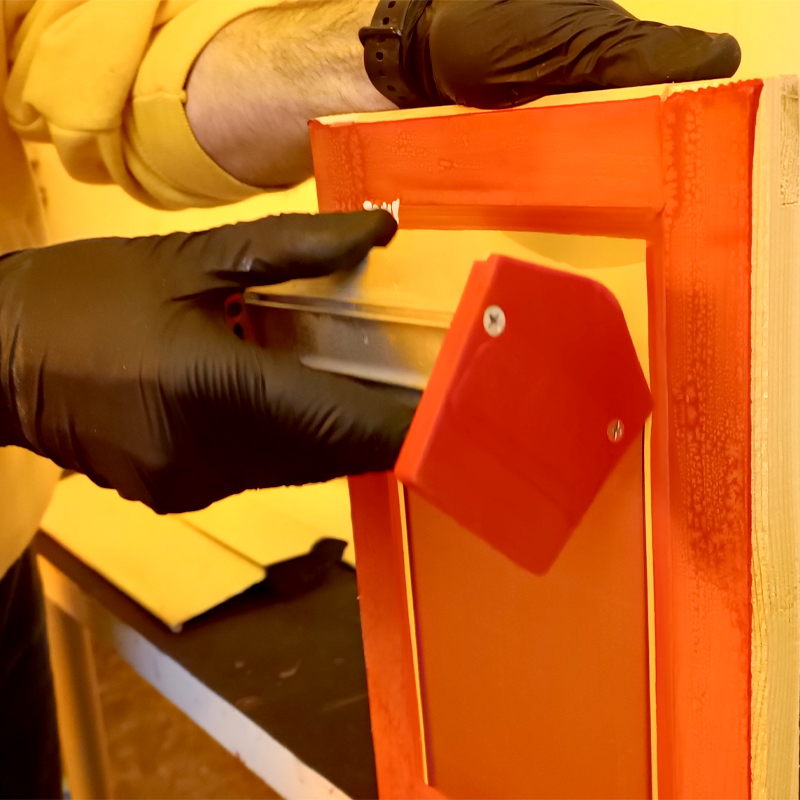
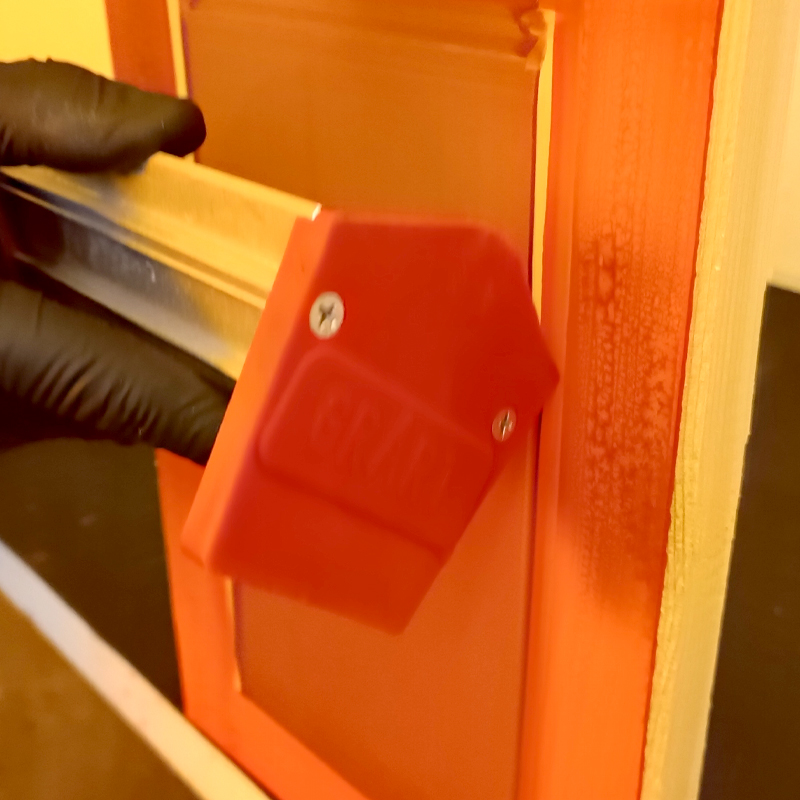
Once the emulsion touches the screen along the entire length of the scoop coater, we are ready to coat. Apply pressure with the scoop coater and move upward along the screen while maintaining the same angle and speed. It is not advisable to move too quickly, but it is also not good to move excessively slowly.
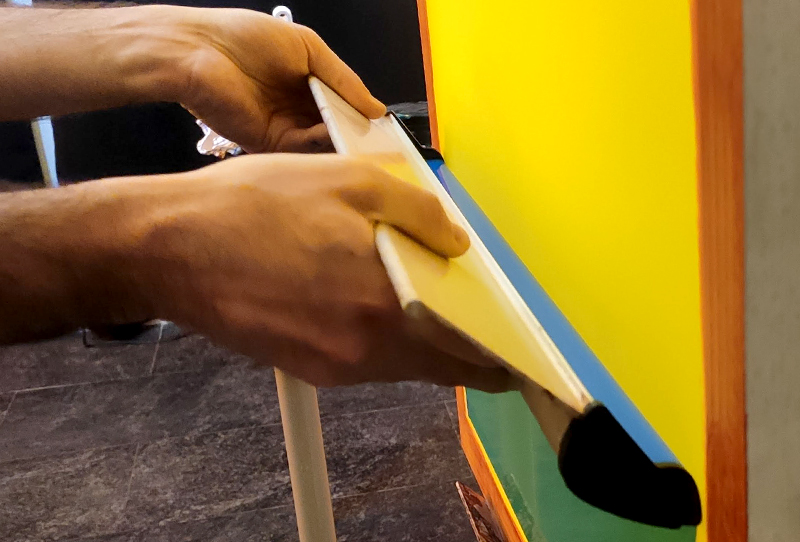

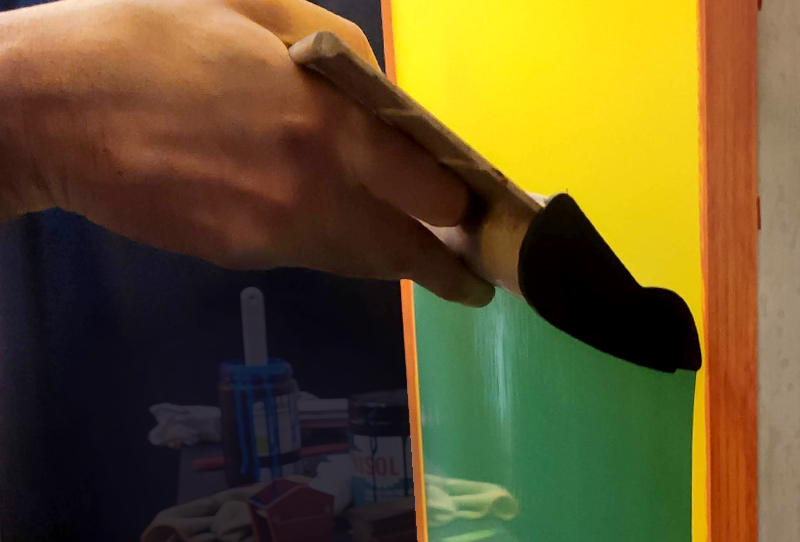

Step 3: Tilt and cut off the flow of emulsion
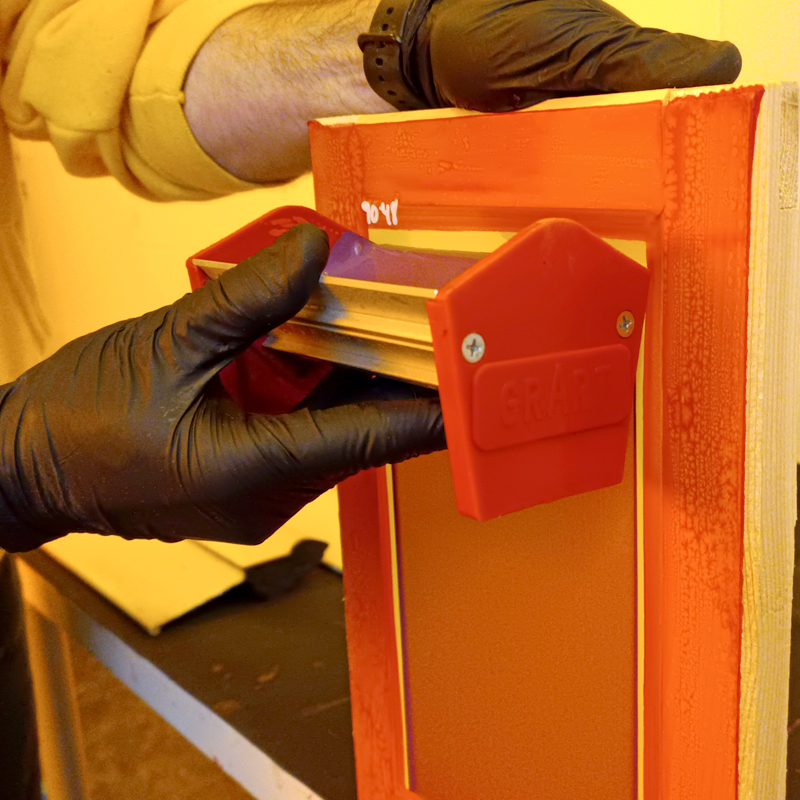
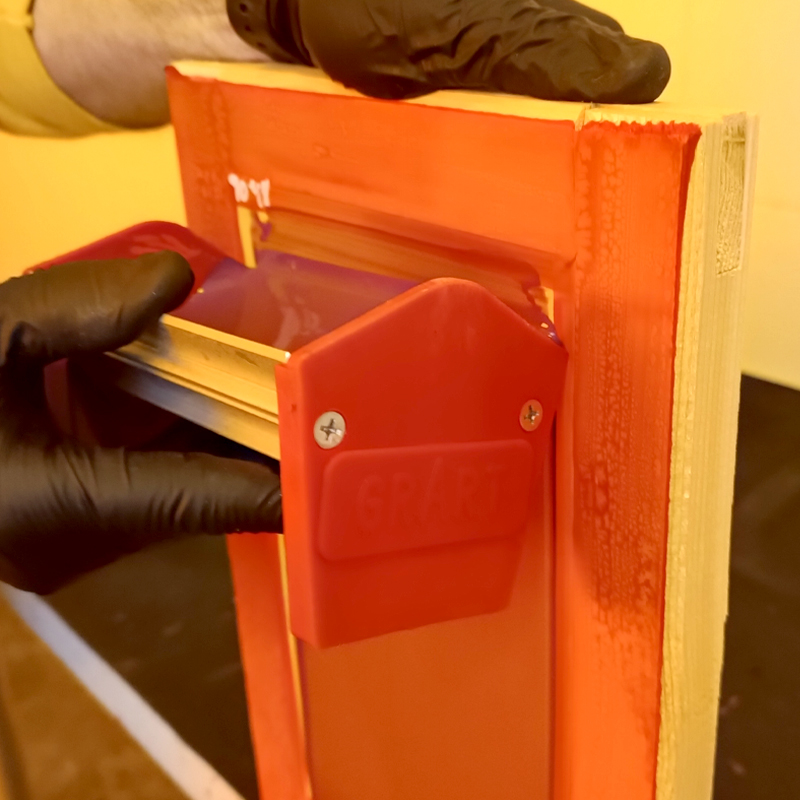
When we reach the top of the screen without going over it, we tilt the scoop coater towards ourselves until the emulsion is no longer in contact with the screen. This allows us to separate the scoop coater without any emulsion pouring out.
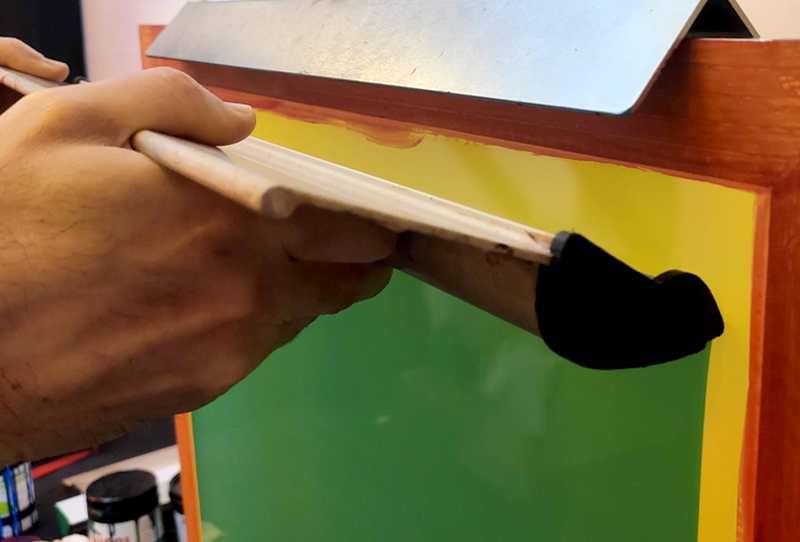


Step 4: Touch up and block the outer areas
If there are areas of the screen without emulsion, such as the side edges, we can coat these areas using a very small scoop coater or even a plastic card with a smooth edge. This step avoids excessive use of industrial adhesive tapes.
It is essential that the emulsion forms a thin and uniform layer. If there are any excess or thick areas of emulsion, we can remove them using a spatula or a card with smooth edges. We can also pass the same scoop coater with an upward tilt of +/- 45 degrees to collect any excess emulsion.
Step 5: Emulsion Layers. How many should be applied?
There are several factors to consider when deciding the number of screen printing emulsion layers to apply. Some of these factors include mesh opening, scoop coater profile thickness, emulsion fluidity, coating speed, coating angle, and coating pressure.
All manufacturers provide usage recommendations for their emulsions in the technical data sheets. Generally, a single layer of emulsion yields poor results, while 1+1, 2+1, and 2+2 layer combinations are commonly recommended.
Considering all the aforementioned variables, we recommend applying 3 wet emulsion layers: 2 exterior layers + 1 interior layer. Alternatively, a minimum of 2 layers can be applied: 1 exterior layer + 1 interior layer.
Although not a common practice in manual printing workshops, you can experiment by applying 1 layer of emulsion on the print side after drying. This ensures complete coverage of the mesh.
It is important to standardize this process because any variation in the application of the layers will affect our exposure times.
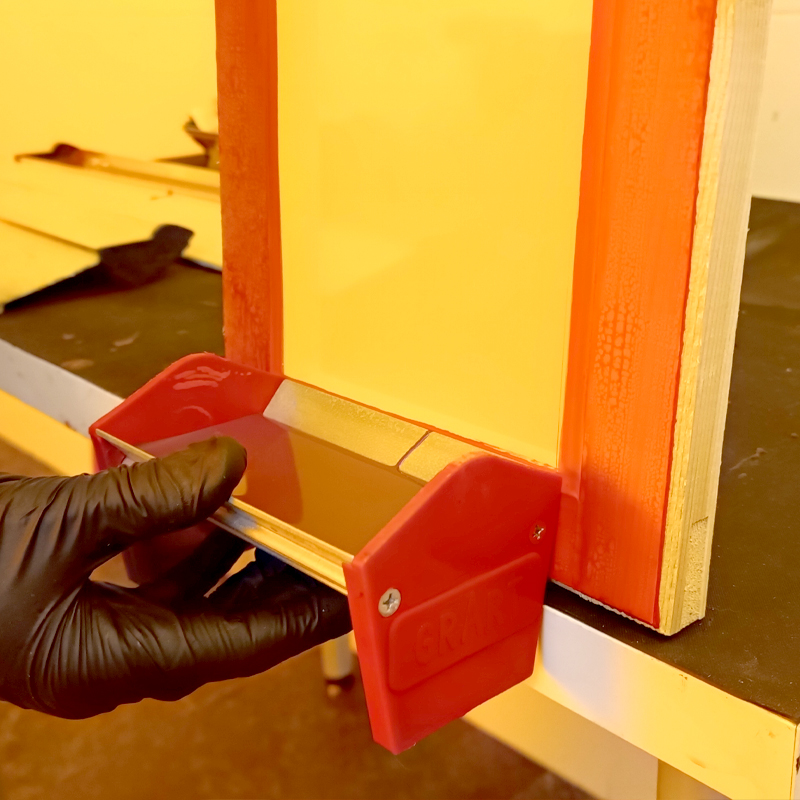



First layer of emulsion on the exterior side of the screen (print side)



Second layer of emulsion on the exterior side of the screen (print side)
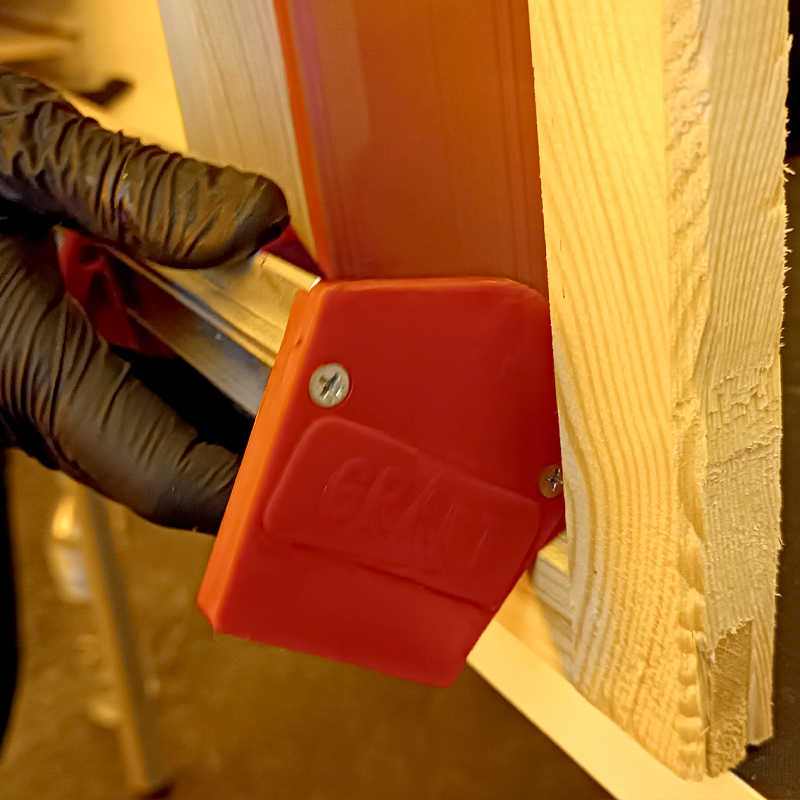

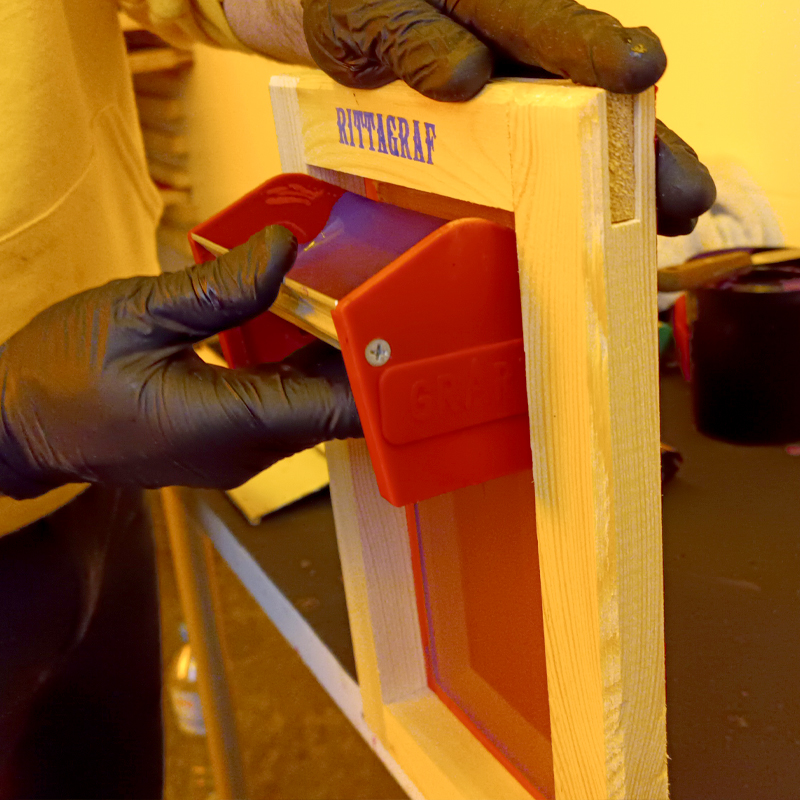

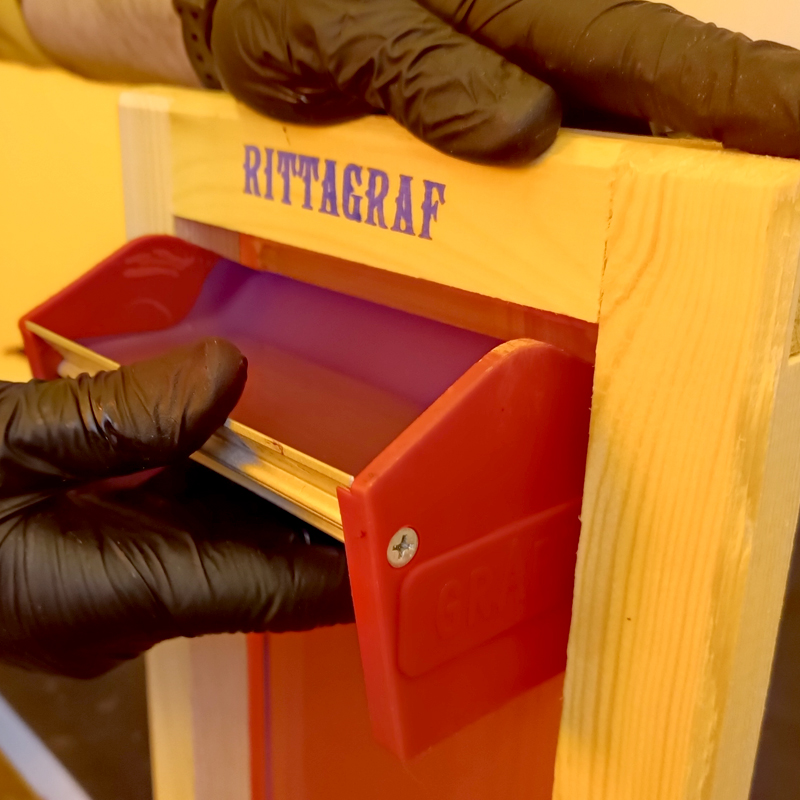

Third layer of emulsion on the interior side of the screen (squeegee side)
Step 6: Collect excess emulsion and clean tools
Using a spatula, return any excess emulsion back into the original container. It is important to collect as much excess as possible to avoid pouring emulsion down the drain and to make the most of the material.
Remember that emulsion is a photosensitive and light-reactive material. The most sensitive moment is when the emulsion is dry. During the emulsion process, we can work with dim light, but we still need to protect the emulsion as much as possible by closing the emulsion container, collecting excess emulsion promptly, and cleaning all tools as soon as possible.
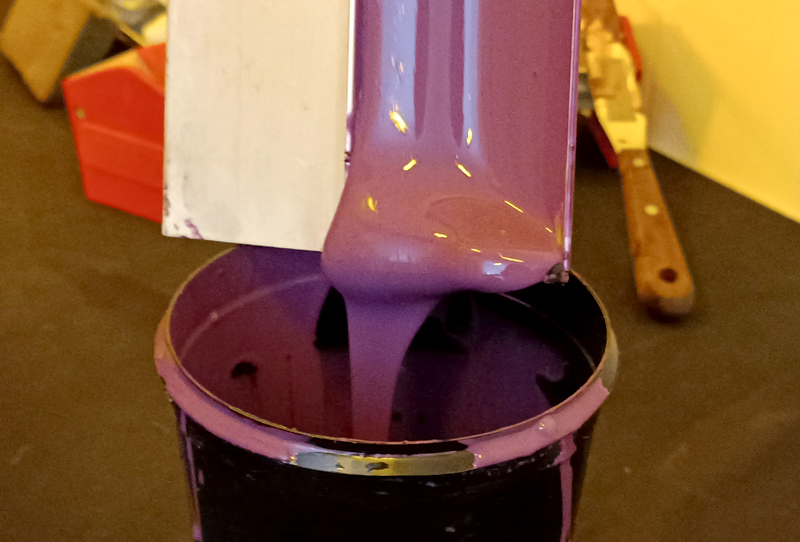

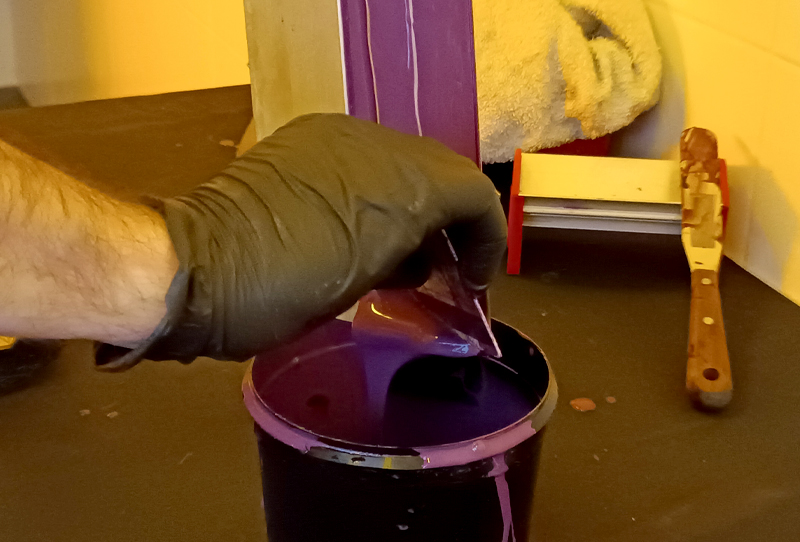



Step 7: Dry the emulsion on the screen before exposure
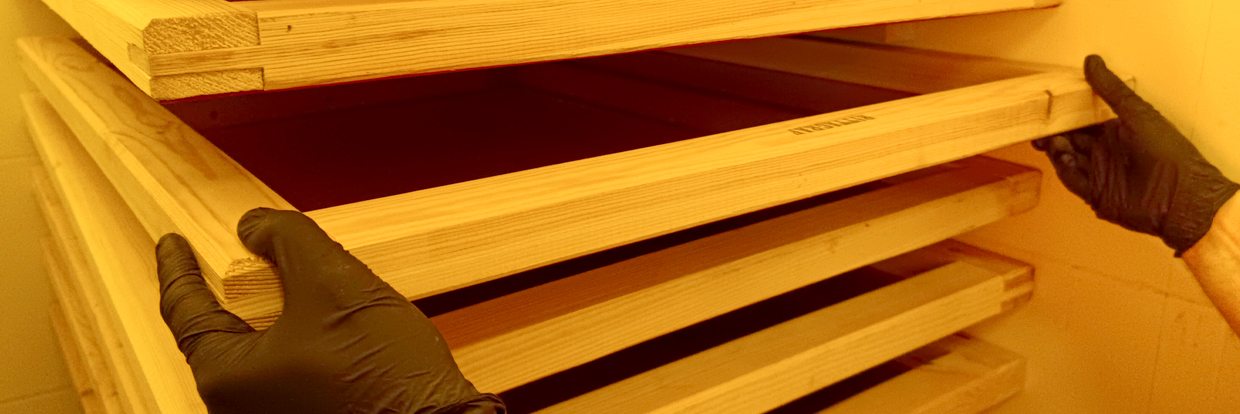
Allow the screen to dry in a dry and dark place, preferably in a horizontal position with the outer side (printing side) facing downward. Once the emulsion has completely dried, the screen is ready to be exposed.
Even though the emulsion is dry, you should never touch it with your hands! Avoid greasing or soiling the emulsified fabric. Once it is dry, it should be protected from any source of light and moisture. If you work in humid environments, the emulsion may absorb ambient moisture in the center of the frame. It is important to ensure that it is 100% dry before exposure.

Step 8: Standardize the screen emulsion process in screen printing
To achieve the best efficiency of the emulsion and obtain excellent results in screen printing, it is essential to carry out a proper emulsion process. All parameters are important: the type of emulsion, mesh count, emulsion blade edge, emulsion speed, drying, the type of ink to be used, and the printing substrate.
Conduct tests and determine your preferred method of emulsion. Draw conclusions and standardize the process to ensure consistency and repeatability.
¿Te han quedado dudas sobre el emulsionado?. Visita el post en nuestro blog: Preguntas Frecuentes del Emulsionado de Serigrafía. Allí te contamos algunos tips y consejos que responden a las preguntas más frecuentes que suelen hacernos sobre el emulsionado de pantallas y marcos de serigrafía.
