

® Rittagaf, illustration ®Raquel Riba Rossy
Raquel Riba and Lola Vendetta Visit Rittagraf!
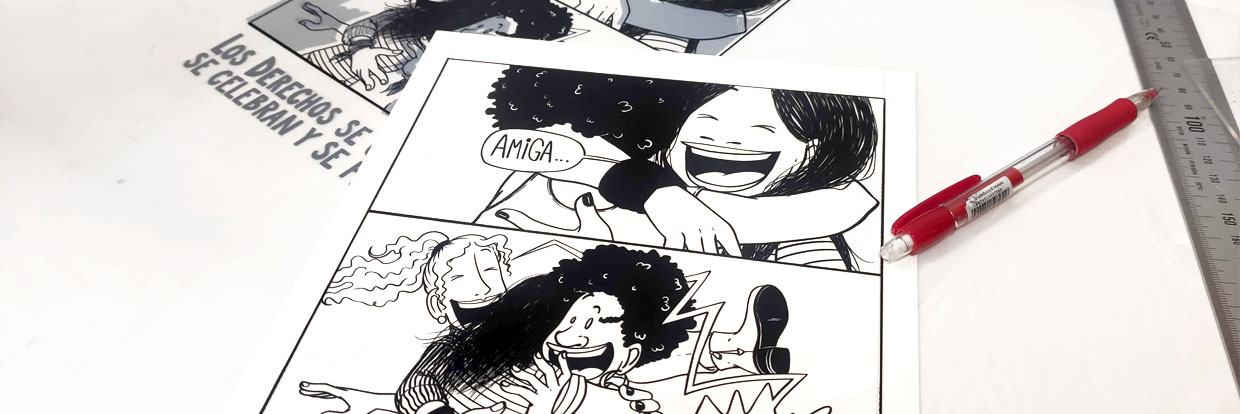
A few days ago, we had the pleasure of hosting Raquel Riba Rossy, artist and illustrator, creator and author of Lola Vendetta. Raquel created a limited edition of screen prints for attendees of the Marea Verde Transoceánica event held at Sala Equis in Madrid. This event was organized by Dos Latinas Colombia and the NGO Centro de Derecho Reproductivos as a dialogue about guarantees for free abortion between Latin America and Europe.
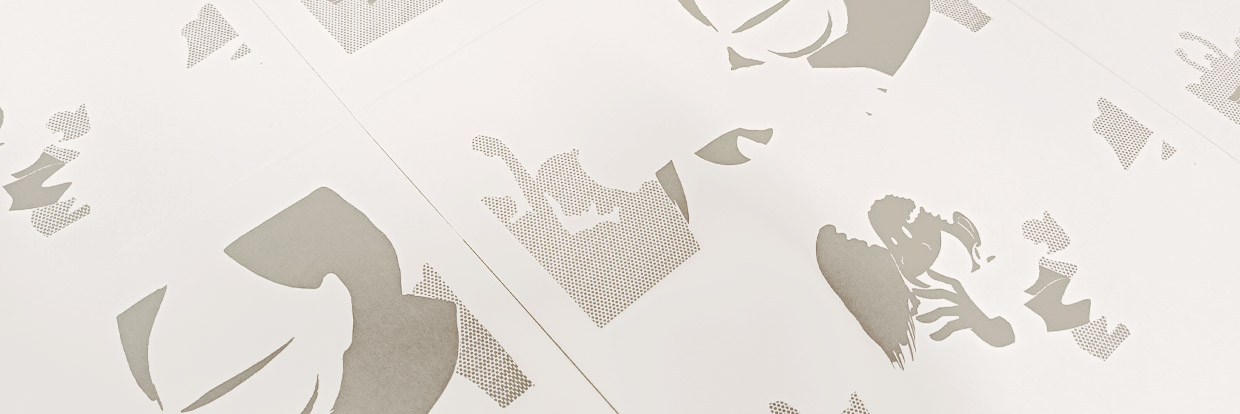
The screen prints were manually printed in 3 colors on 310 gsm Incisione paper. We took advantage of our friend Raquel’s work to showcase the basic steps for multi-color screen printing on paper.
Preparing Screens and Organizing Materials
To create the edition, we prepared the photoliths or positives from Raquel's original images and used them to make the screens for screen printing. In this case, we made one screen for each drawing and color, totaling 3 screens.
Preparing Materials for the Edition
Before starting the printing process, it's essential to plan the work and organize all necessary materials. Here are some of the items you'll need to have on hand:
- Exposed and Dry Screens
- Paper Screen Printing Inks and Prepared Colors
- Ink Mixers or Spatulas
- Paper or Editing Surface
- Draft Papers
- Paper Pieces for Registration
- Registration Astralons (acetate for registration)
- Sealing Tape, Polypropylene Tape, or Adhesive Polyester Tape
- Printing Squeegee for Paper, at least 5 cm larger than the image
- Printing Table with Hinges Clamps for Screen Printing
- Screen Printing Drying Station or Drying Rack
- Cleaning Supplies: Sponge, Water Basin, and Paper Towels
Step 1: Prepare the Sample Sheet
Select one of the final papers and mount one of the film positives (the most representative one or the one with the most information). If no single film positive provides the necessary spatial information, you may mount two positives. You can trim the film positives to attach them to the paper with tape or adhesive. The goal is to visualize the final result on the actual support. Essentially, this step involves managing margins and making compositional decisions. This sample will be referred to as the sample sheet or master sample.
Raquel Riba Rossy illustration®
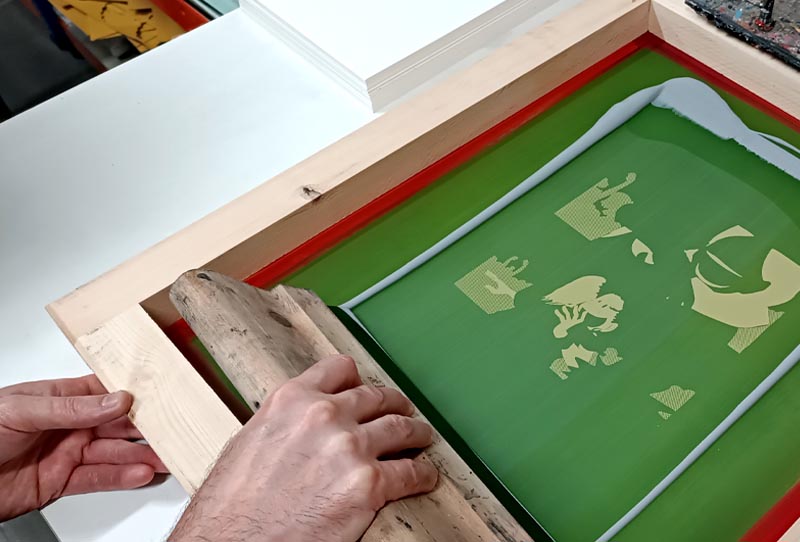
Secure the Screen and Check the Registration
Place the screen for the first color on your hinge clamp or printing table. Ensure that there is proper off-contact (the distance between the screen mesh and the printing surface, which prevents the paper from sticking to the screen after printing). For paper printing, it's necessary to maintain an off-contact of 1 to 2 mm.
We check the registration and take-off between the mesh and the sample sheet.
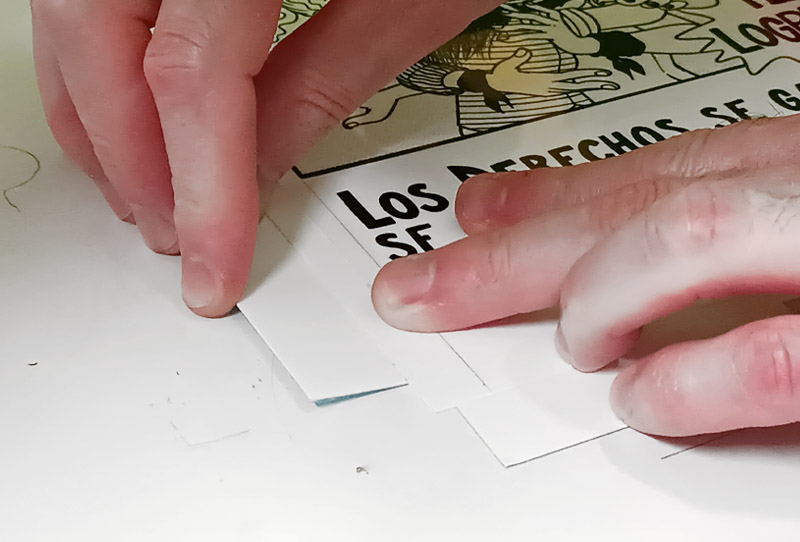
We place pieces of paper to fix a record
Step 3: Set Up the Registration for the First Color
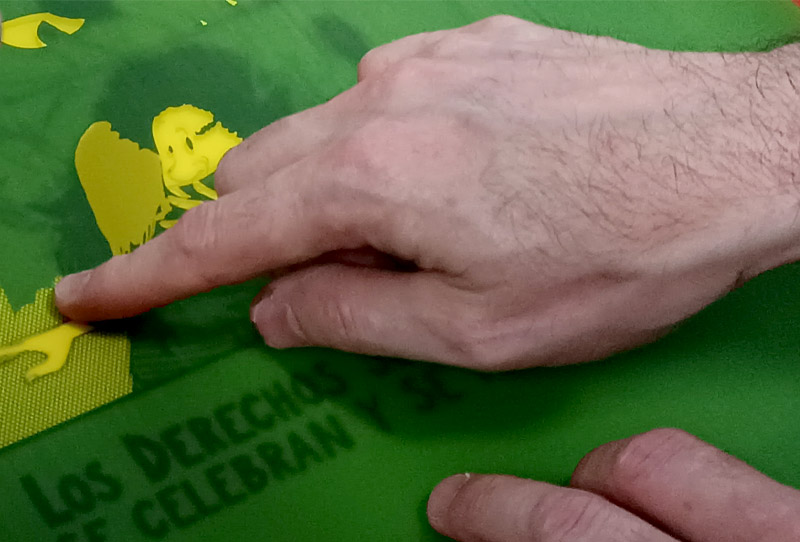
Once you have the sample sheet, slide it underneath the screen until you align the sample sheet with the opening of the mesh for the first color. Since emulsions are somewhat transparent, you should be able to see the alignment fairly easily.
After aligning the image, lift the screen, secure the sample sheet to the table, and place small pieces of paper or cardboard in the bottom corners and one of the sides. Fix these pieces to the table to create stops that will ensure the placement of your printing paper. You can use tape for this; we used double-sided tape.
Note: These stops pieces should be the same thickness or thinner than the editing paper. A good idea is to use pieces or scraps from the same paper as your final print. The key is to ensure that both the paper and the registration stops are well-cut and positioned for a perfect fit.
Step 4: Print the First Color: Registration and Printing Process
Prepare the ink for the edition. In this case, we used Rittagraf screen printing ink for paper and cardboard. To maintain color depth and avoid over-pasteling, we used a transparent base, which gives a transparent and luminous quality to the gray.
Follow these steps to print the first color:
- Align the Paper: Place a piece of paper into the registration setup you've created.
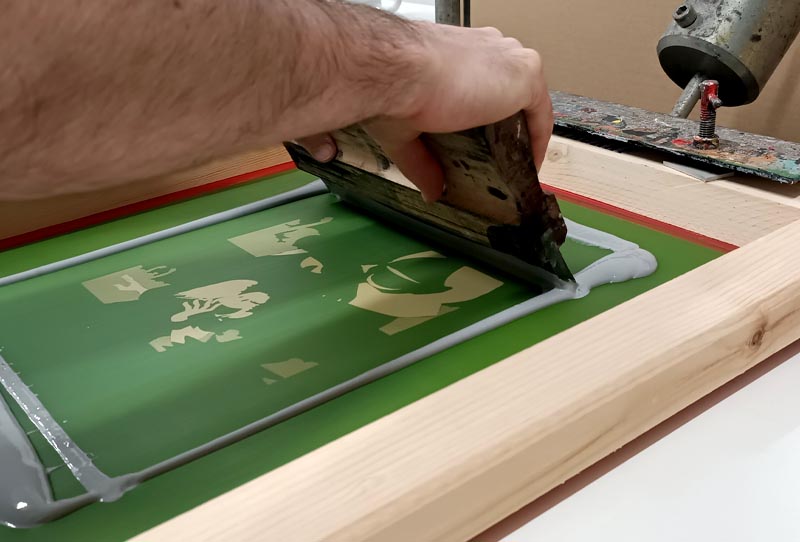
- Load the Ink: Apply a thick line of ink across the top of the screen. The width should be larger than the size of the image.
- Use the squeegee to drag the line of ink from top to bottom to "load" the screen with ink.
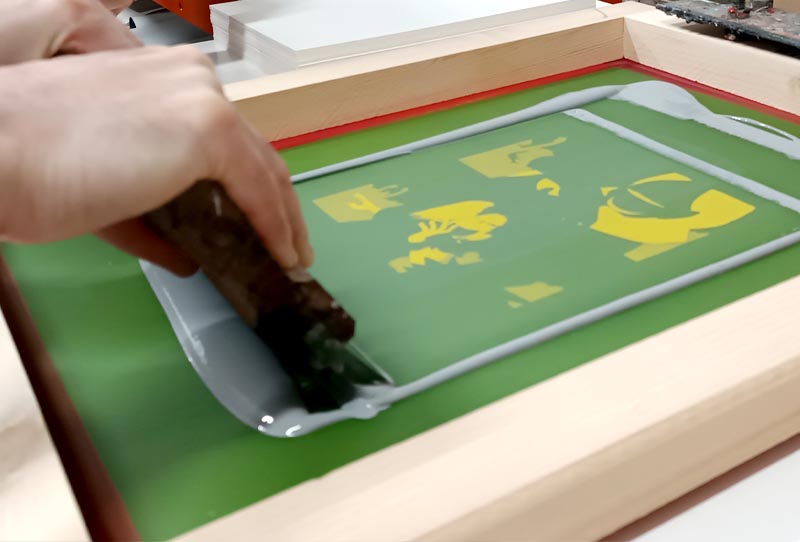
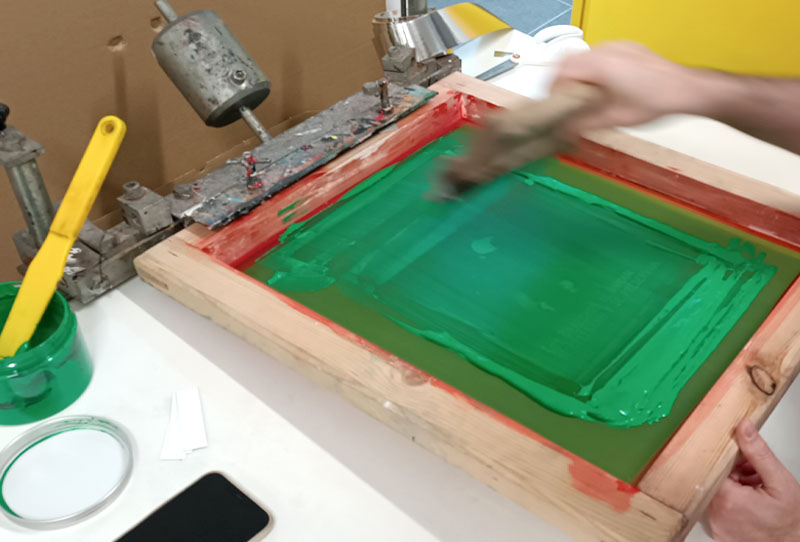
- Print the Screen: Hold the screen up with one hand to avoid contact with the paper. With the other hand, use the squeegee to drag the ink from top to bottom, keeping the squeegee at an angle of approximately 75º.
- Lower the screen onto the paper. Place the squeegee on top and apply pressure until you feel contact with the paper. Tilt the squeegee to 75º and pull it towards you, maintaining the pressure.
- Check and Reload: Lift the screen and ensure the paper hasn't stuck to it. Reload the ink. Since the thick line of ink has already been dragged down, it will be at the bottom of the screen. Therefore, reload the ink from bottom to top this time.
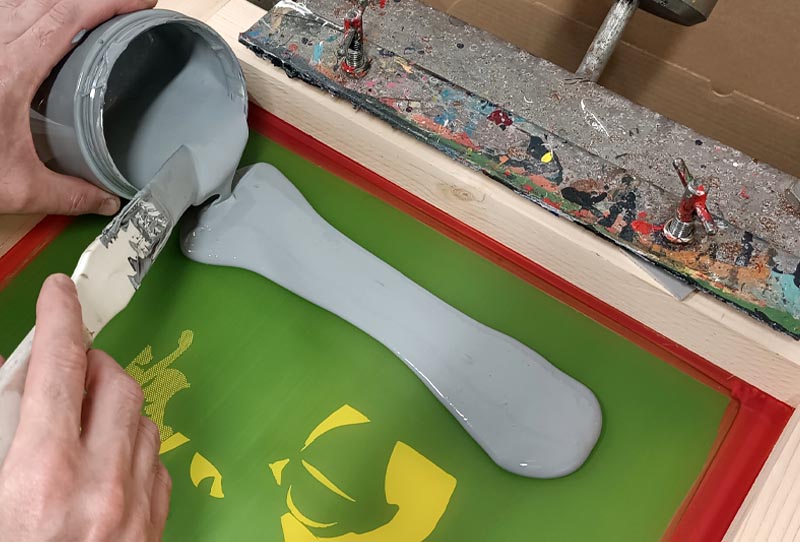
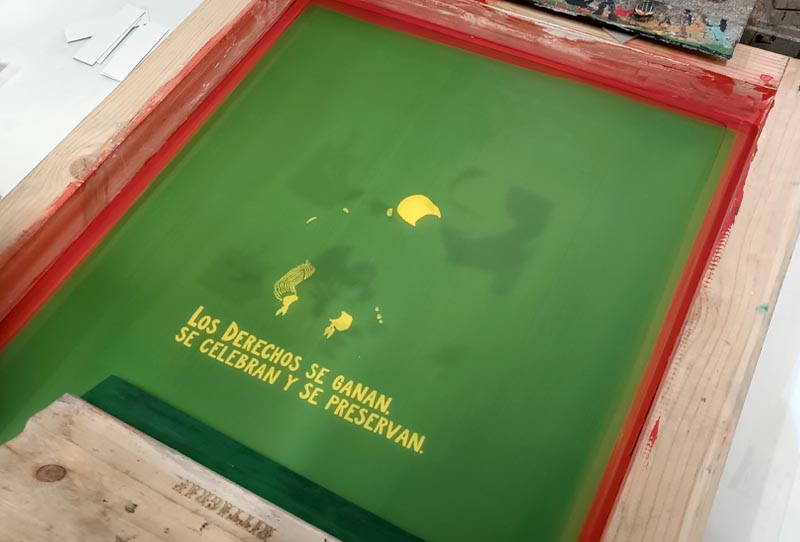
Distributing the first color ink on the screen printing screen
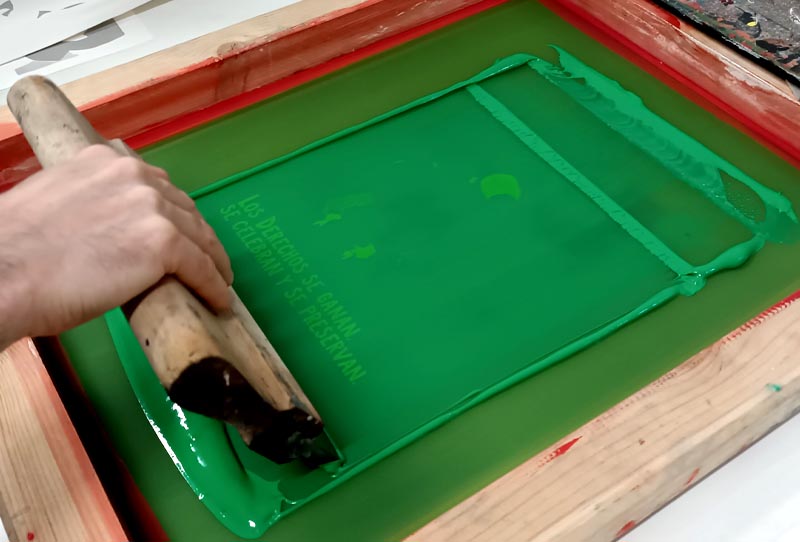
Loading the ink of the first color. We raise the screen to avoid contact with the paper
From the top we apply pressure with the scraper at an approximate angle of 75º
At this point, we remove the print. If any adjustments need to be made regarding the color, the off-contact, the registration, or even a paper change, this is the time to do so. If the result is as desired, we can continue with the edition by following the process: load paper, print, load ink, load paper, print, and so on.
From here, the edition becomes a mechanical process that we follow with these steps: Load ink—place paper—print, load ink—place paper—print, etc.
Note: The squeegee should move at an angle between 45 and 75º, with the wooden or aluminum handle always facing towards us and the rubber blade at the front. It doesn't matter whether the movement is from top to bottom or bottom to top; the handle should always face us, and this angle should never be changed.
Step 5: Print the Second Color: Combined Registration
Once the first color has been printed and dried, proceed with the screen change to print the second color.
Change the Screen: Secure the new screen in place and prepare the squeegee and ink.
Remove the previous registration pieces from the table as they are no longer needed for the second color.
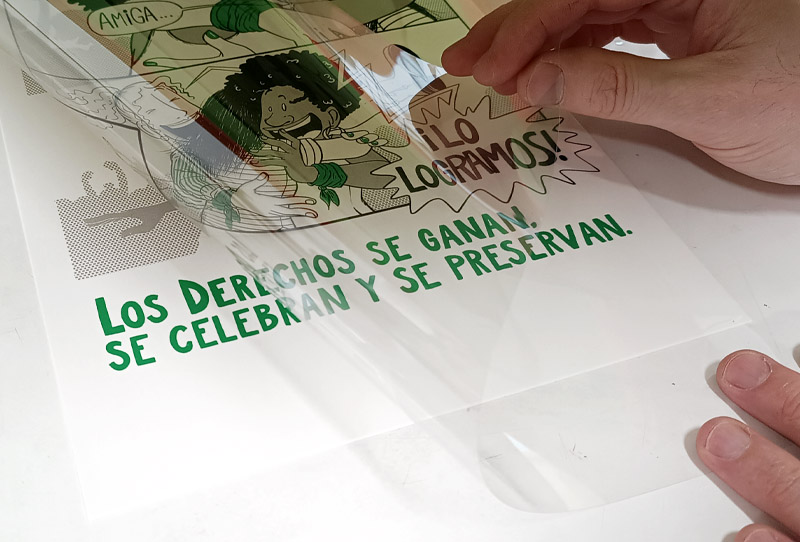
Register the second color similarly to the first. However, this time use a registration film (transparent acetate) for alignment.
Secure the registration film on the table, place the ink on the screen, and print onto the acetate to check the alignment.
Ensure that the alignment is accurate. If necessary, make adjustments before printing the second color on the actual paper.
By following these steps, you ensure precise color registration and achieve a seamless multi-color print.
We lift the acetate a little and place one of the prints of the first color underneath until both colors fit together. We remove the acetate and fix the paper with the previous method: with pieces or cuts of paper or cardboard on 2 of the sides.

Lower the screen frame and print. If done correctly, the second color should be stamped exactly as it appeared on the transparent acetate. If any adjustments or modifications are needed, this is the time to make them. If necessary, repeat the process until it perfectly aligns with the first color.
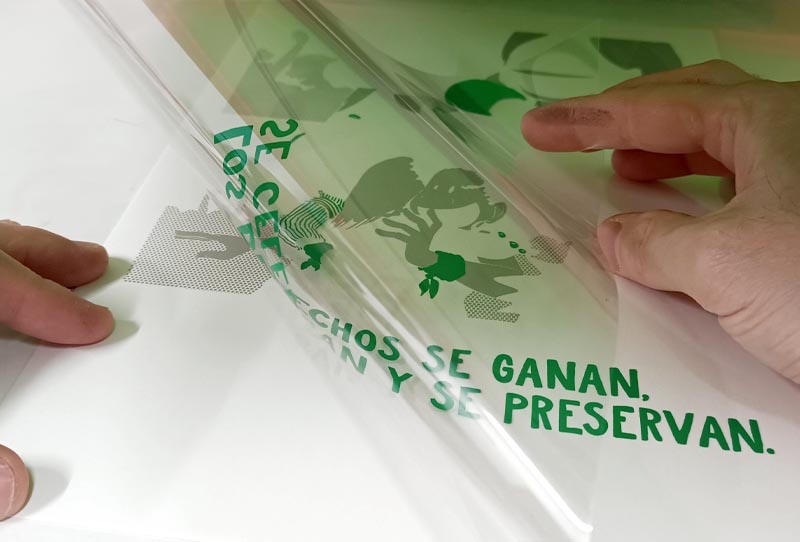
We move an impression of the first color under the astralon or transparent acetate until we achieve a fit of the two colors
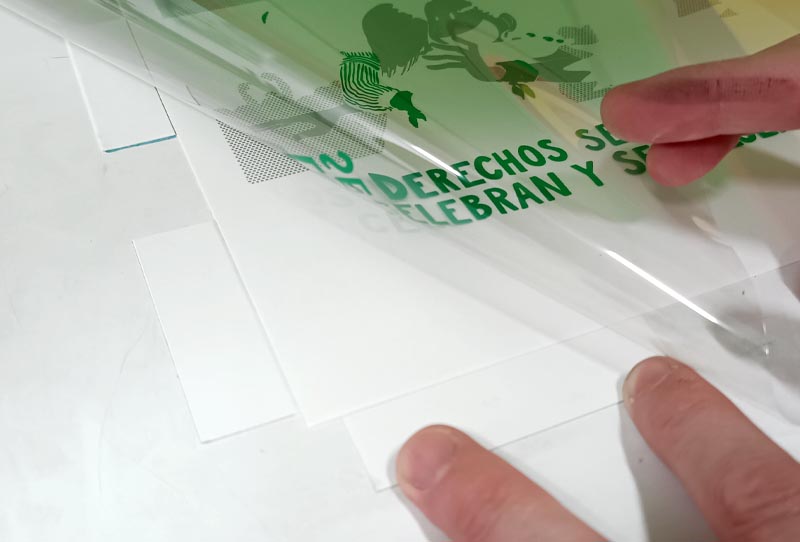
To register the second color we fix some pieces to ensure the position
Solving Registration Issues in Screen Printing
Sometimes problems with registration can arise. Here are some tips to eliminate some of the most common issues:
- Use the Same Sample Print: For color registration, we recommend using the same sample print for all colors. This reduces variables or potential errors in paper cutting, for example.
- Maintain Consistent Printing Direction and Registration Setup: Keep the same printing direction and registration setup for each color.
- Secure the Registration Acetate Properly: Attach the registration acetate (astralon) to the table on both sides, creating a hinge that allows easy movement from side to side, but without folds, wrinkles, or imperfections.
- Print on the Acetate with the Printing Paper Underneath: Perform the printing on the acetate with the printing paper placed below.
The Third Color Completes the Screen Printing Edition
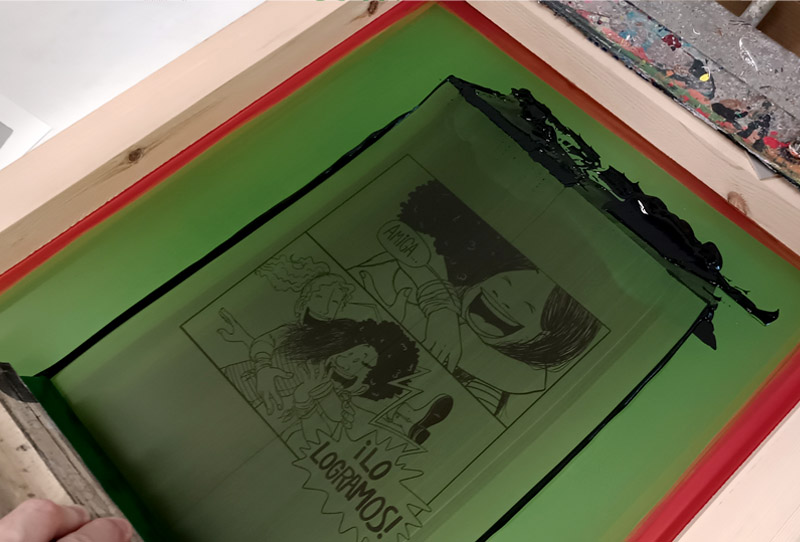
Once the prints of the first two colors are dry, we proceed to print the third and final color, which in this case is black.
The printing process will be the same as for the previous colors: load and print. The screen should never run out of ink.
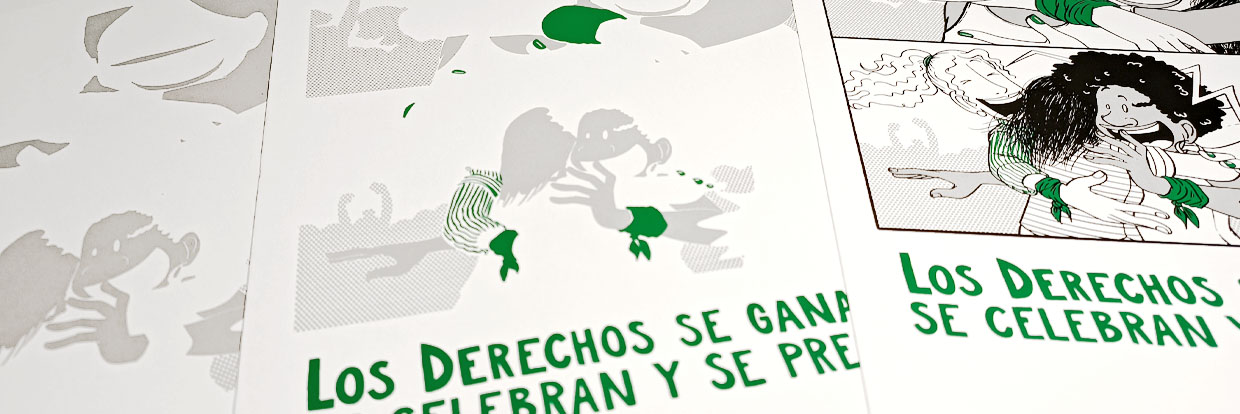
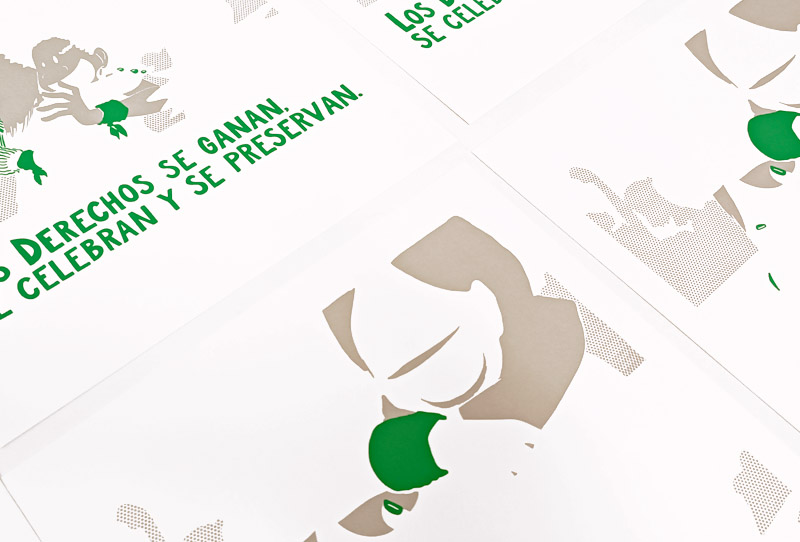
And this fantastic 3-color silkscreen edition signed by Raquel Riba was obtained by attendees of the Marea Verde Transoceánica event in Madrid on July 10.