® Carlos Alguacil for Rittagraf
Why do we want to reclaim a screen printing screen?
Screen printing screens are not for single use, they can be reused many times. To do this, the emulsion from the previous job must be removed. The act of chemically removing the image from a screen is known as screen printing screen reclaim. This process allows us to prepare the fabric for a new design.
Pre-Reclaiming Screen Printing Screen Questions
How long can a screen printing screen last? It depends on many factors:
- The quality of the fabric and how the screen is made. This is very important.
- The nominal usage that the screen has undergone. Screens are made to withstand thousands and thousands of prints, but they have a lifespan.
- The care of the screen and fabric.
When is it no longer worth reclaiming the screen and better to re-mesh with new fabric?
When one of these things happens:
- The mesh has lost its tension. This usually happens because the fabric has already been through a lot and has lost its memory capacity. It's usually due to excessive use or bad practice (excessive pressure due to the use of too large a squeegee).
- The mesh has tears or cracks in the fabric. Any tear affects the entire mesh. It's time to consider remeshing the screen.
- The mesh has ghosts that no longer disappear. Sometimes there are ghosts that reappear again and again, and each time it becomes more difficult to remove the ink residues. If this persists, it may be time to replace the fabric.

What materials are needed to reclaim a screen printing screen?
To reclaim a screen printing screen and remove the previous design, you will need the following materials:
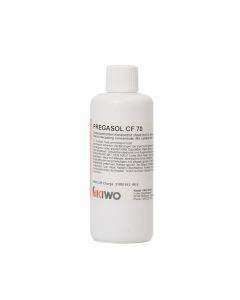
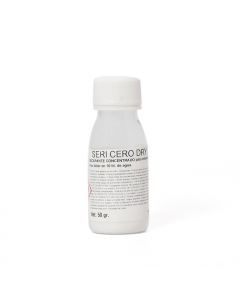
- Screen printing stencil remover (liquid or powder format)
- Water (access to a shower, garden hose, or pressure washer)
- An appropriate container for mixing
- A funnel
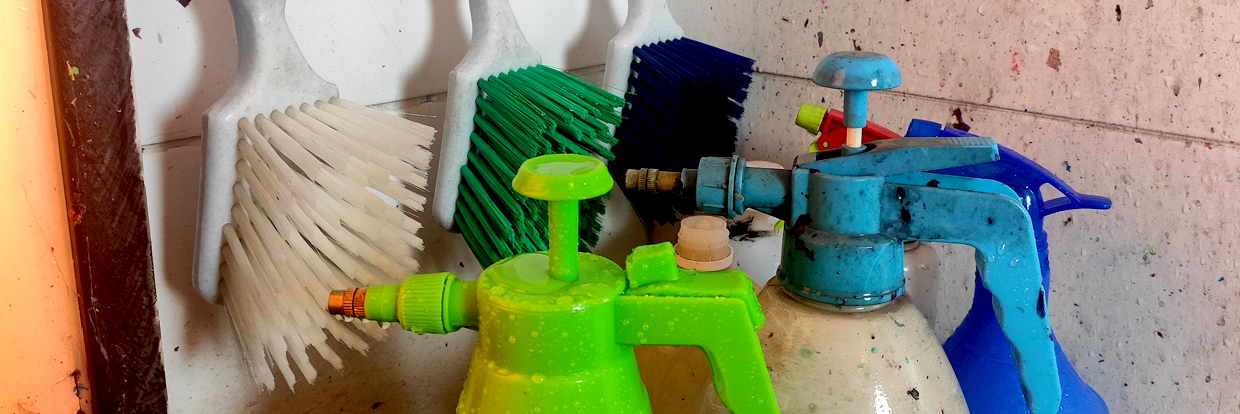
- An applicator for the stencil remover (a liquid dispenser or spray bottle)
- Gloves
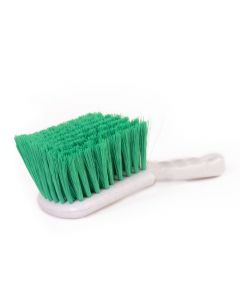
- Special stencil brush (optional)
- Sponge (optional)
- Patience, lots of patience.
Reclaiming a screen printing screen step by step
Reclaiming photo-sensitive emulsions from screen printing screens is one of the most important and necessary steps to save all of our work.
In this tutorial, we will provide you with all the steps to follow for an efficient reclaiming process. Additionally, we will give you a few tips to improve and achieve a perfect reclaiming. Let's not forget that when we reclaim screens, we are recycling our work tools.
By following these steps, we will remove the ink and emulsion residue and be able to reuse our mesh many times over.
Step 1: Mix the Decapant Solution
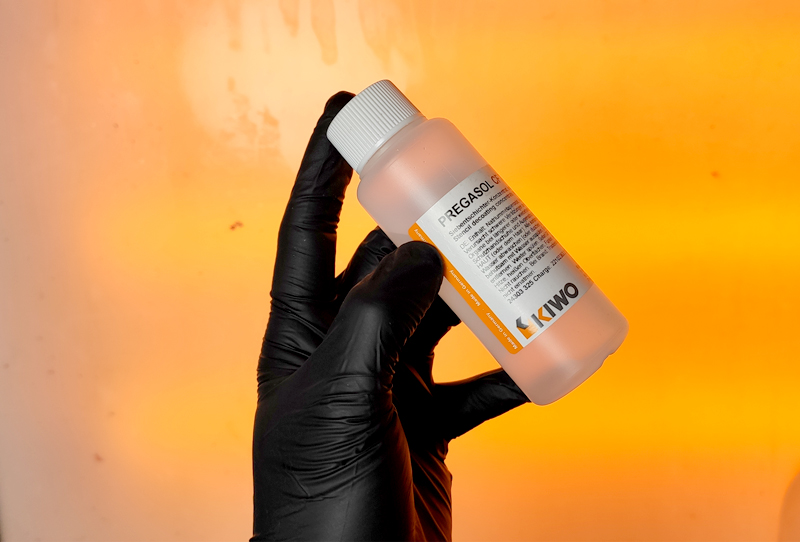
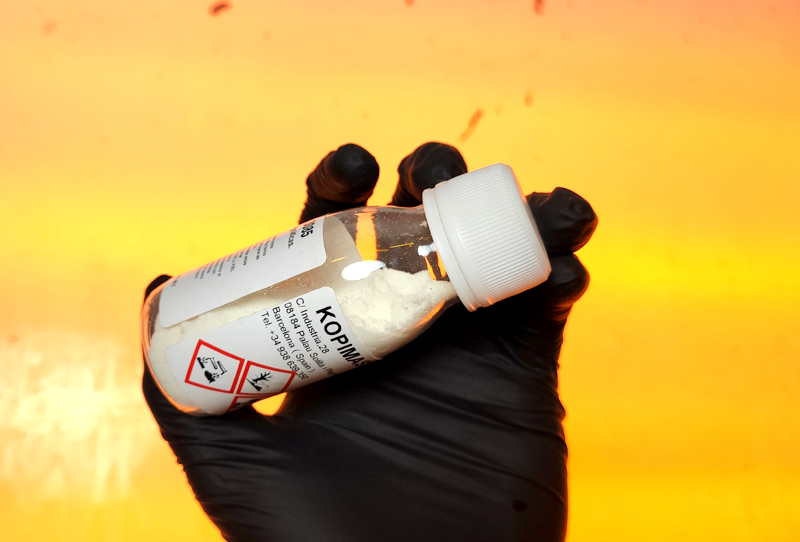
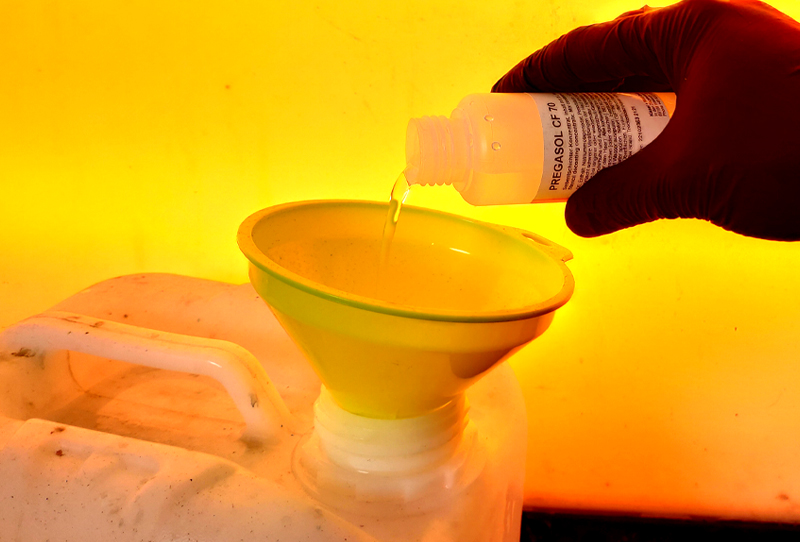
To reclaim photoemulsions for screen printing, universal screen printing remover are used. Like other chemicals, screen printing removers are usually sold in concentrated formats and must be proportionally mixed with water. Basically, they can be found in two formats: powder remover or liquid remover. It is advisable to follow the manufacturer's instructions. These products usually contain corrosive products and precautions must be taken at all times during handling. We must use gloves and protective goggles.
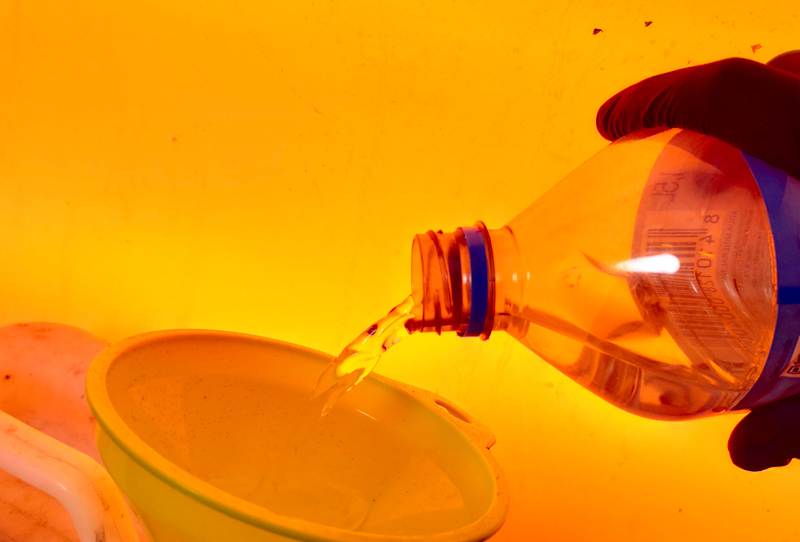
In a suitable container, add the water for the final mixture you want to achieve and then add the product with the help of a funnel. Once added, it must be stirred until a good mixture is achieved. In this step, obviously, liquid remover are easier to mix than those in powder format. Concentrated powder removers settle and generate deposits in the long term.
Manufacturers recommend a standard mixture, but slightly more concentrated dilutions can be made. For example, a solution recommended for 10 liters could be made for 7-8 liters.




Step 2: Transfer the reclaiming solution to a sprayer
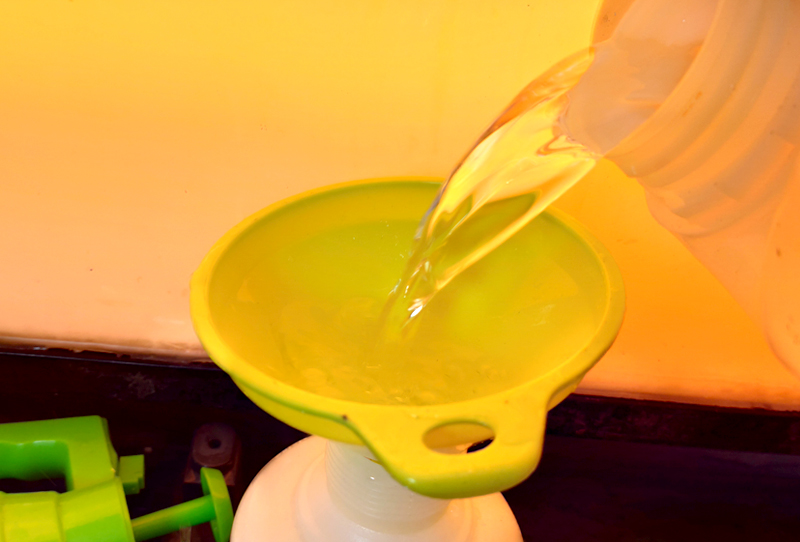
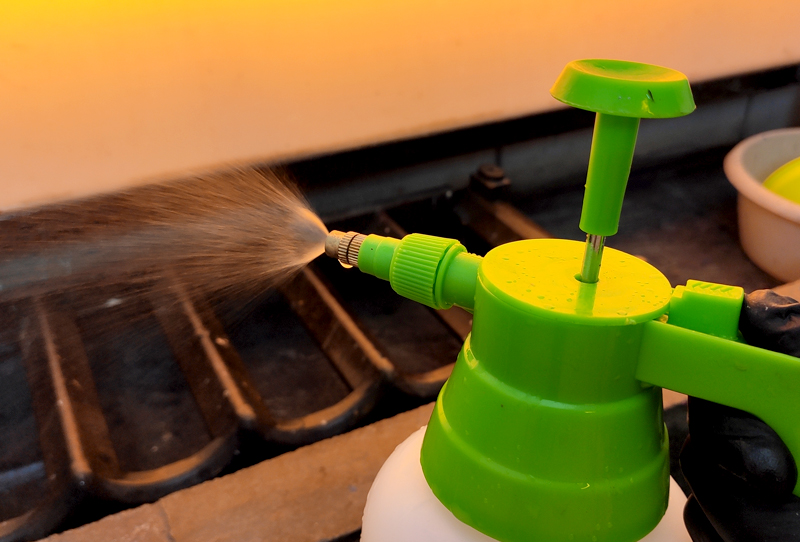
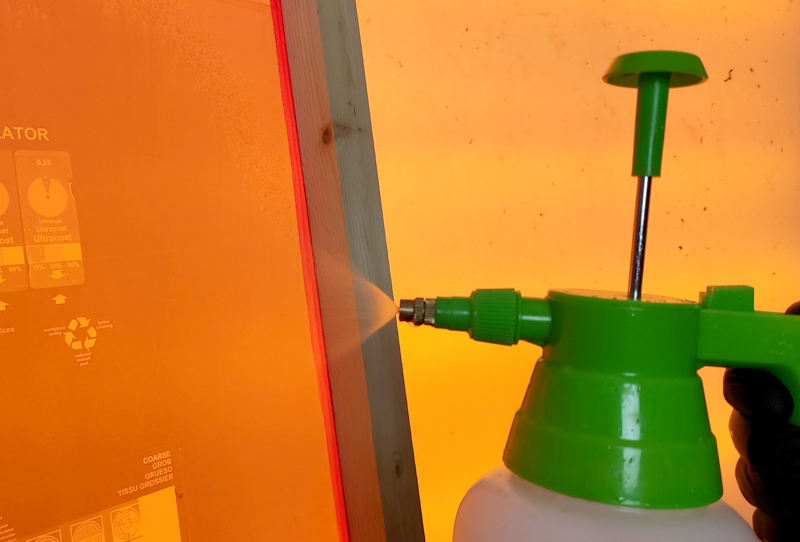
To make it easier to apply the screen-reviver liquid, we recommend using a liquid sprayer. The sprayer helps us apply the liquid evenly across the entire surface of the screen, avoiding spills and making the most of the product.
Tip: If the screen-reviver hasn't been used for a while, it's necessary to shake the container before applying it, as in some cases it can crystallize and generate deposits at the bottom of the container. This happens especially with powder screen-revivers.
Label both the container with the mixture and the sprayer clearly and visibly. Indicate the brand, manufacturer, mixing ratio, and date.


Step 3: Apply the reclaiming solution
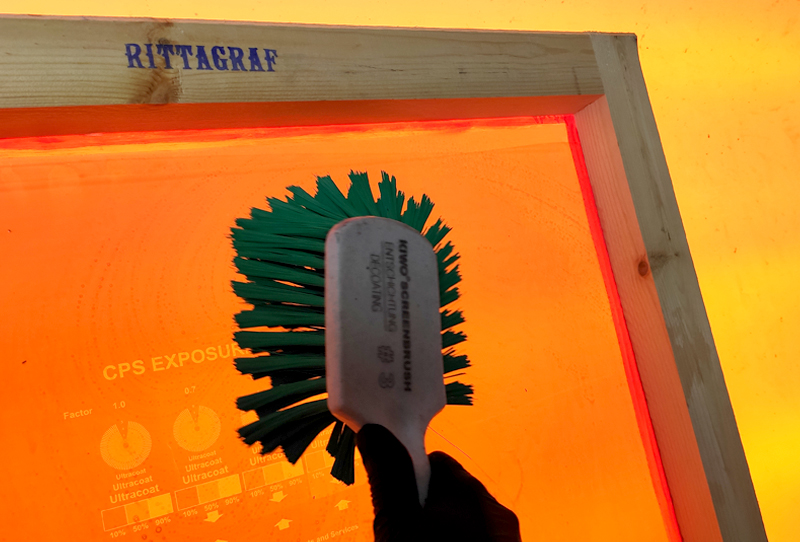
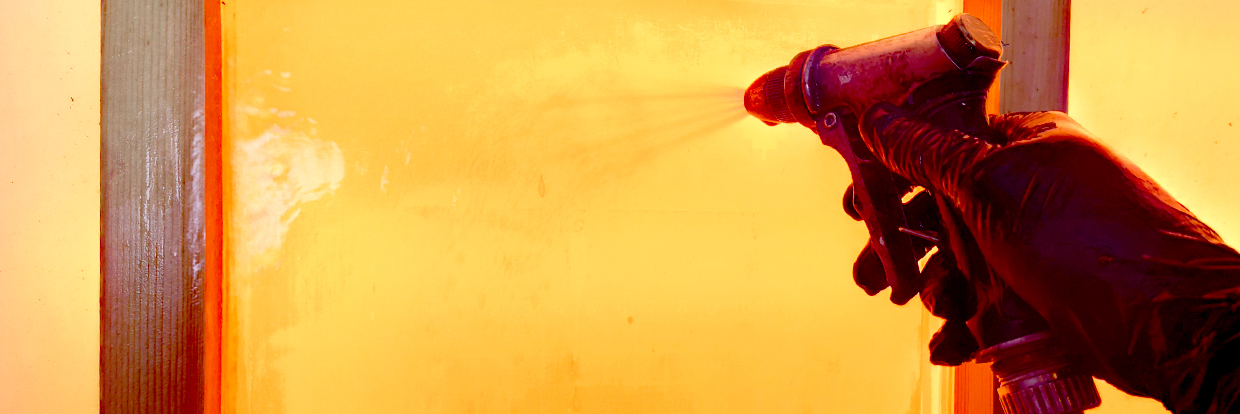
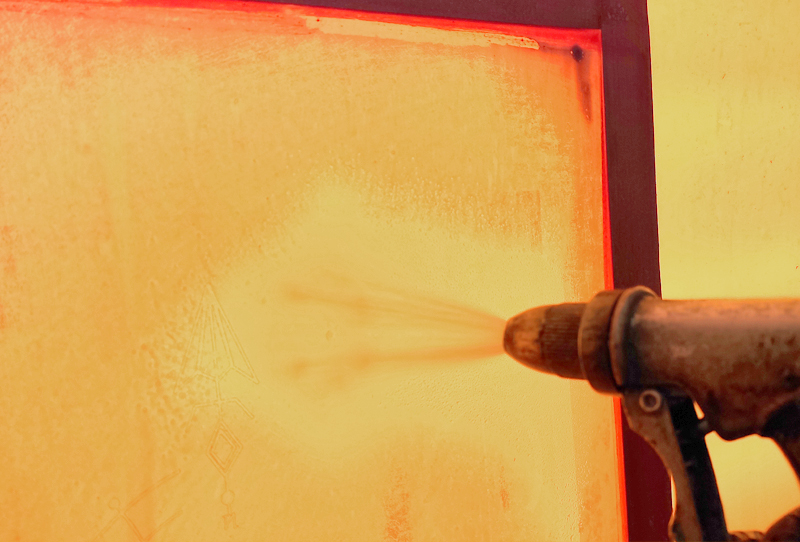
Spray the reclaiming solution across the entire screen. It's essential to do this on both sides and across the entire surface of the screen.
Once applied with the sprayer, it's necessary to spread the reclaiming solution evenly on both sides of the screen, allowing the solution to penetrate and act. A special nylon bristle brush for decoating is the ideal tool: it won't scratch the thread of the screens, distributes the solution, and helps it penetrate and act more effectively. If you don't have a special brush, you could spread the solution with a sponge that doesn't have a surface that's too rough. Make sure it won't damage the thread and that it will resist the chemicals in the reclaiming solution you're using.
Always use gloves during the reclaiming process, as we're working with corrosive agents that can damage our skin.


Step 4: Let it work and be patient: the key to screen reclaiming
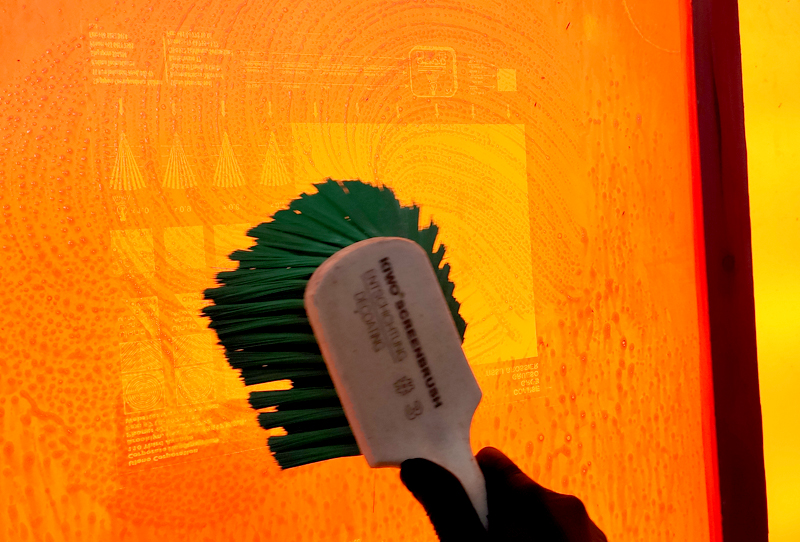
Here is the crux of the matter. Time and patience are the key to manual screen printing decoating. All reclaiming agents need time to work on the emulsion, so it's important to respect the recommended times. In some cases, thicker emulsion can be harder to reclaim. In this case, keep scrubbing and wait for the reclaiming agent to completely dissolve all the remaining emulsion. You can apply the reclaiming agent several times to both sides of the screen, but never rinse it with water until all the emulsion has been removed.
Important: Never let the remover agent dry on the screen as it can be counterproductive. If the screen is not reclaimed, apply more reclaiming agent, keep scrubbing, and be patient, waiting for it to do its job. But never apply and let it dry.


Step 5: Rinse and remove remaining photo emulsion and reclaiming agent
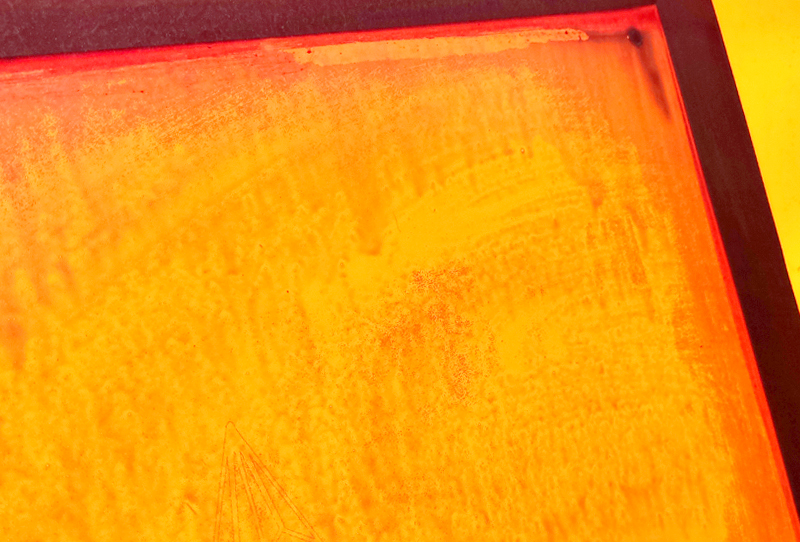
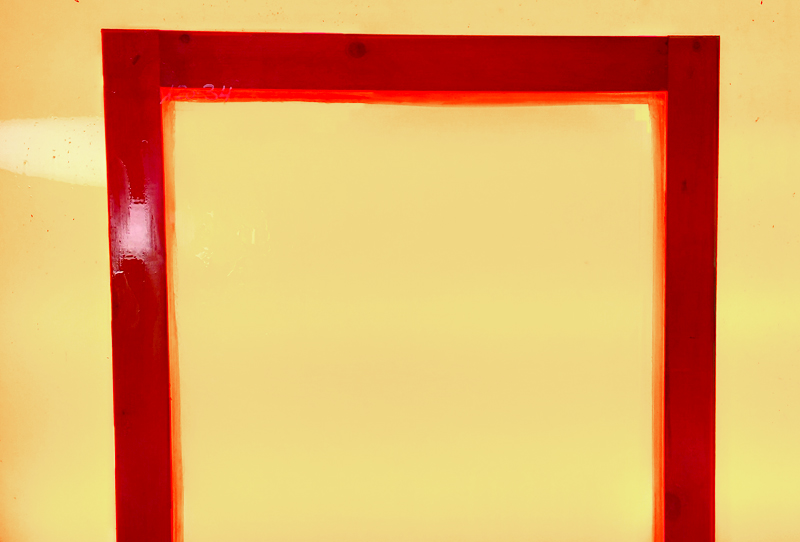
We must ensure that the image has been completely removed before applying water to clean the screen.
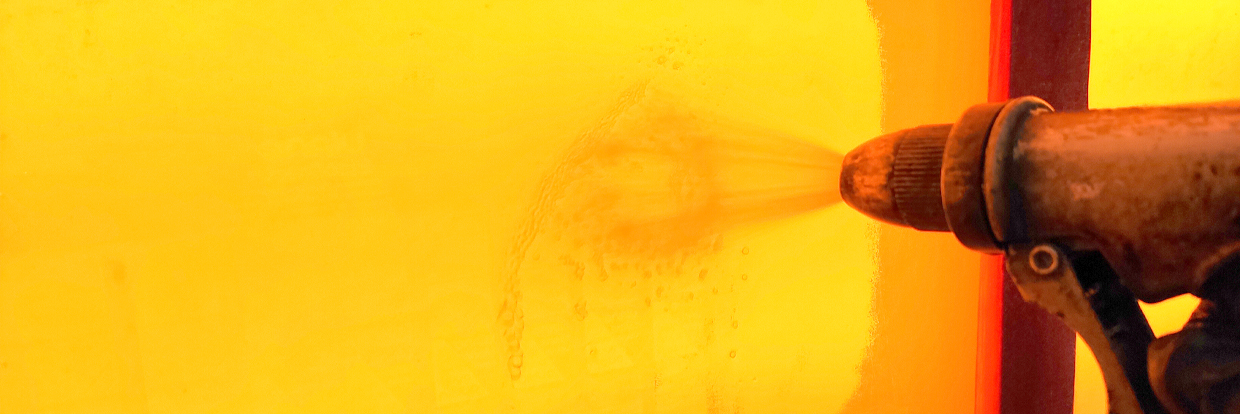
If we have done the process correctly and under normal conditions, the emulsion will dissolve without problems with the pressure of water from a household shower or a garden hose.
Although it is a widely used practice, it is not normal or necessary to always use an industrial pressure washer to reclaim screens. The frequent use of high-pressure water machines, in addition to breaking and weakening the mesh, affects the tension of the mesh in the screen. The pressure washer can help improve cleaning, but we should not abuse it. The chemical reclaiming agent should do the job chemically, not the pressure of water physically.
Emulsions can be difficult to remove due to some of these reasons:
- Underexposed screens
- Overexposed screens
- Hardened emulsions
- Ink residues on the surface of the emulsion that prevent the reclaiming agent from working
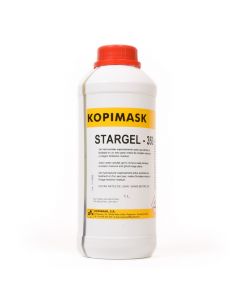
There are emulsions that are easier to reclaim than others, but it also depends a lot on the above factors. When we encounter these problems, there are stronger chemicals that can help us remove difficult-to-remove ink or emulsion residues. This is the case with Kopimask's Stargel 350 or Kiwo's Mega Clean X-Tra.
We are very insistent on this, but it is very important NOT to rinse before we have seen that all the emulsion has dissolved. Reclaiming agents are liquids normally designed to work well on all types of screen printing photo emulsions (excluding indirect films), but if we apply water in the middle of the process, they will lose their effectiveness. The pressure and water flow for cleaning can also be decisive.



If you still have any doubts about the reclaiming process, we recommend that you visit our post Tips and Advice for Troubleshooting Screen Reclaiming in Screen Printing. There, we show you the causes of the most common problems, along with a series of solutions to improve the reclaiming of your screen printing screens.

