® Carlos Alguacil for Rittagraf
The term "photolith" has its roots in the principles of photomechanical techniques and how they used to be obtained. Although it would be more accurate to call them "positives" and reserve this term for those obtained through electronic film, colloquially, we still refer to them as photoliths (especially in some latin languages).
In the industry, positives are being replaced by the production of matrices through CTP (Computer To Plate) systems, where photoliths are no longer needed. This comes with economic advantages but also entails creative challenges. In this tutorial, we will delve into what a photolith or positive is, its utility, characteristics, and the various variables depending on the graphic technique. Discover everything you wanted to know about this great unknown for printmaking techniques: the positive.
What Is a Positive and What Is It Used For?
A positive transparent image, is a fundamental element in techniques that require photomechanical processes to create matrices used in the multiple reproduction of images. This component plays an essential role in various artistic disciplines and printing techniques, including screen printing, heliogravure, photogravure, letterpress, pad printing, offset, and even in the production of polymer resin stamps. Additionally, there are techniques in which the positive is used to create the final image, such as cyanotype, vandyke, and other ancient photographic methods.
In general terms, a positive is an opaque image printed or drawn on a transparent or translucent support. The positive is the image we want to transfer to the matrix, and therefore, the quality of what we are going to reproduce depends on it.
The positive is the original that must come into direct contact with the surface of the desired matrix. Once in contact with the sensitized surface, we apply a UV light source to expose these matrices. After exposure, the positive is removed, and the matrix is processed or developed according to each technique.
Having knowledge and proficiency in working with positives is crucial for individuals or small workshops that specialize in manual graphic printing techniques. Mastering positive techniques enhances understanding and proficiency throughout the entire workflow.
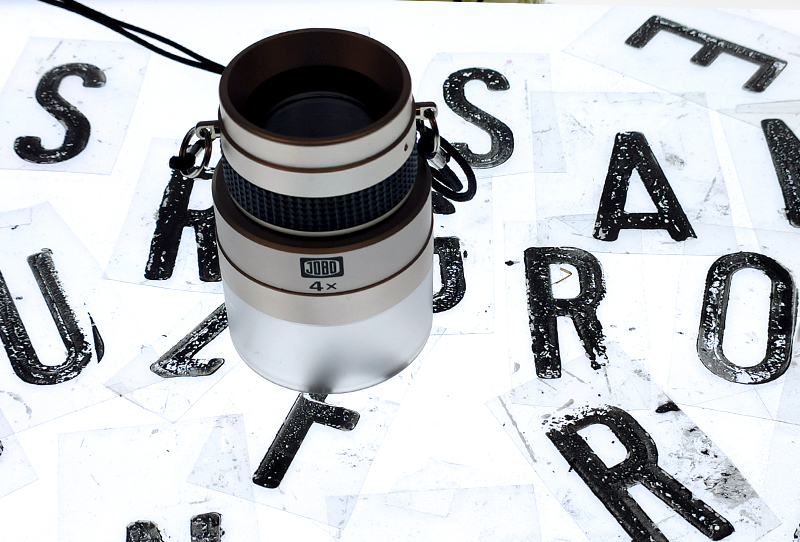


Choosing the Right Technique for Your Positive: Tailoring the Process
Reproduction techniques that employ photomechanical processes share a common logic: they have a sensitized surface with photosensitive material, and therefore, UV light activates each of the processes (in different ways). Each technique requires the positive to be treated in a specific manner, making it crucial to understand how each one functions. Here, we review some of the most common techniques used by engravers and artists:
-
Positives for Screen Printing
The emulsion remains fixed where it is exposed to light and creates an image where it has not been exposed. Therefore, the positive film is used in a positive manner: the opaque parts of the positive correspond to the image we want to be printed.
-
Positives for Offset Printing
Where UV light hits the plate's emulsion, it activates it, and during development, the exposed areas will disappear. This means that the positive is also used in a positive manner: the opaque area will be the one printed, and the transparent area corresponds to the background. If we were to make a plate for offset printing (where the plate does not directly touch the printing paper), we would need to flip the positive. However, if we are going to print the offset plate using an offset press or a traditional lithographic press, with the paper placed directly on the plate, there is no need to flip anything: what we see in the positive is what will be printed.
-
Positives for Relief Photopolymer
In photopolymer to make letterpres, for example, the areas exposed to UV light harden, while the unexposed areas (where the positive is opaque) dissolve during development, creating recesses. In this scenario, when creating a relief stamp or plate, the positive must be converted to a negative: the transparent areas will become the raised surfaces (and therefore, the printed areas), and the opaque areas will dissolve (the background). There is no need to flip the image. These are the positives used to make letterpress plates, stamps using dry polymer plates, or resin polymer stamps.
-
Positives for Photopolymer Intaglio: Photogravure with Polymer Plate (Solar Plate)
Historically, the term "photogravure" referred to serial printing processes of images with photographic qualities, encompassing various graphic techniques with different procedural characteristics.
When creating a photogravure plate, with a solar printing plate for example, to reproduce an image with photographic or continuous tone qualities, we typically aim to print the recessed areas, not the surface. In this case, the continous positive should not be inverted or flipped. Often, a halftone or stochastic screen is previously exposed to help reproduce the tonal gradations of the positive.
-
Positives for Cyanotype, Antique Photographic Techniques, and Other Solar Sensitizers
Wherever light strikes, the reagent becomes visible. Therefore, the image of positive film is applied in negative: the transparent areas will be the ones visually activated, and the opaque areas correspond to the background.
Some materials and chemicals that simulate antique photographic processes need to be exposed while they are still wet. In these very specific cases, we recommend that the printing or drawing of the positive be on the side that will not come into contact with the surface. This is the only case in which we recommend this approach.
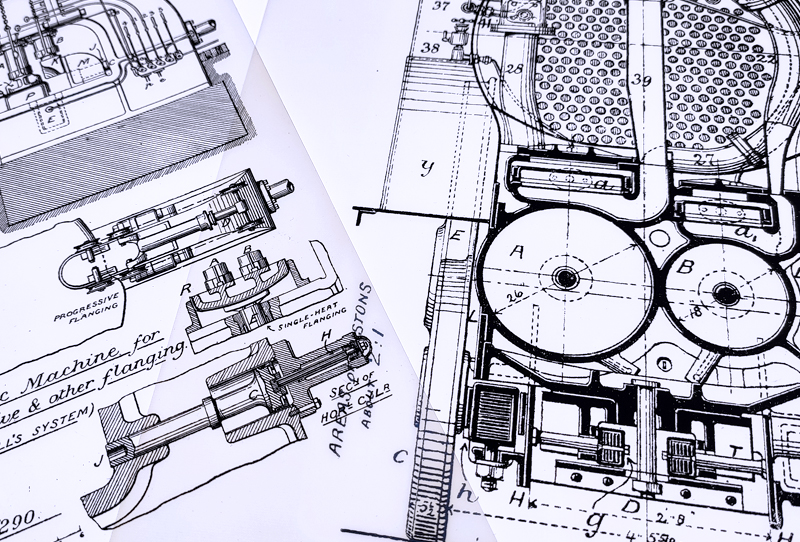

Positives films for screen printing and offset
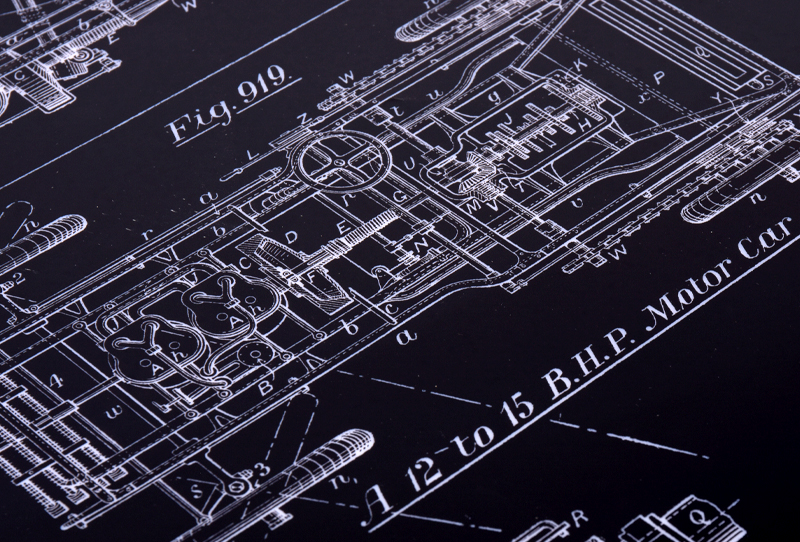

Printed positives for letterpress and relief photopolymer printing
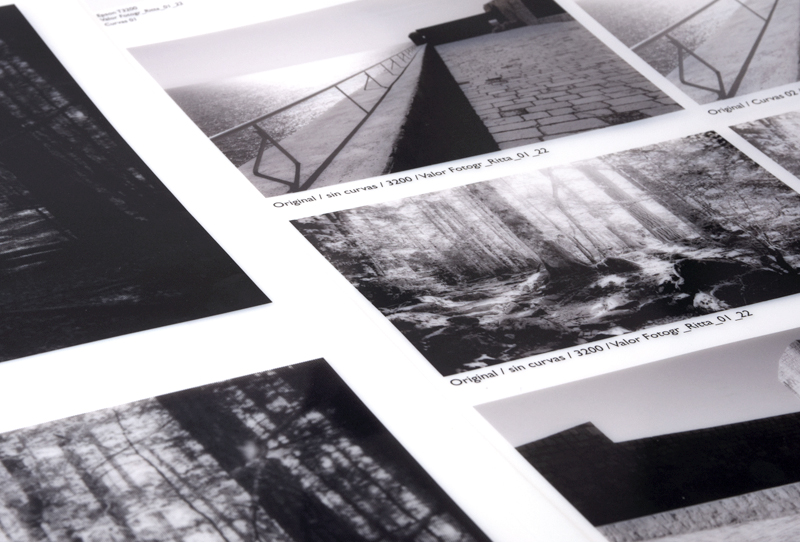

Photoengraving digital positives
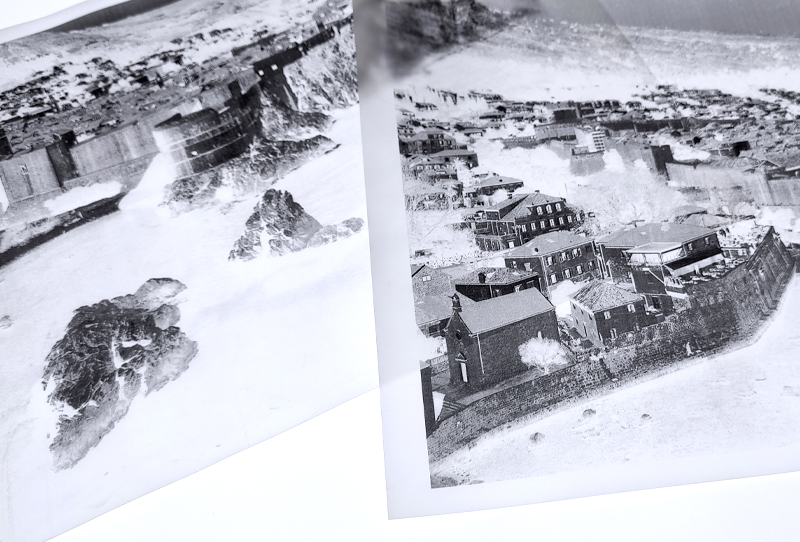

Positives for cyanotype and other photographic techniques
Opacity of the Positive and Light Transmission Capability
The positive must be sufficiently opaque to prevent the passage of UV light through the image we have created. Other areas should be translucent to allow light to pass through. A positive that is not opaque enough in the black areas can complicate the entire exposure and development process of the matrices, as it may risk letting light through in unwanted areas. Conversely, a positive resolved on a less translucent support will allow too little light to pass where it should.
Although exceptions may be found, in general, we aim to achieve the highest possible opacity in a positive. Another important factor to consider is the transmission capability. This depends on many factors but is primarily influenced by the positive's support, the quality of the drawing or printing, and the characteristics of each technique.
Here's an exception to positive opacity: Positives created with inks or actinic materials. Inks and actinic materials are not opaque but prevent the passage of UV light. They are 100% effective without needing to be 100% opaque.
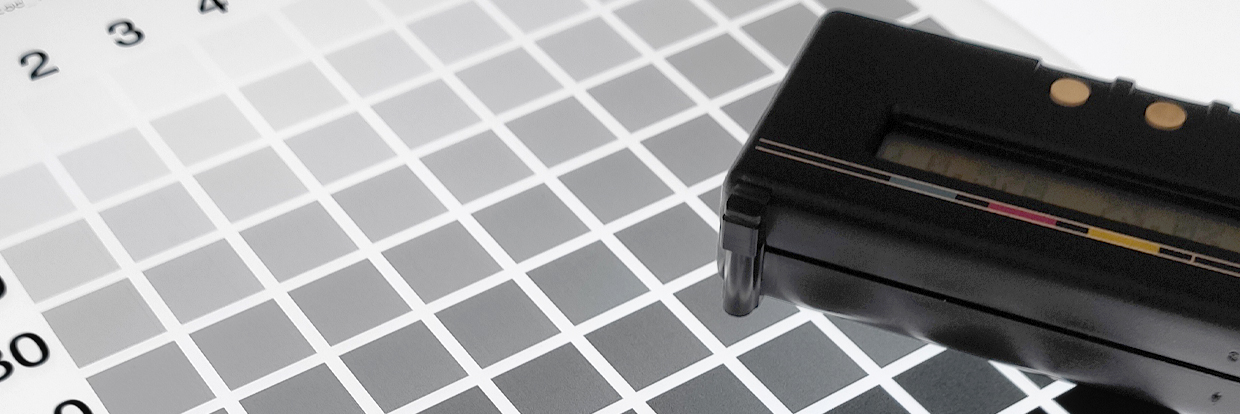

Transparent Positives for Printmaking: How We Classify Them
A positive film can be classified based on its formal characteristics, the manufacturing supports, and the methods used to obtain it. Formal characteristics are determined by the printing technique. The manufacturing supports are precisely determined by the means and/or technology used to obtain the positive. So, we will focus on the methods of obtaining the positive: the origin of manufacturing. In this case, we can determine two main groups:
- Manual Positives, also known as autographic positives.
- Digital Positives (Digitally Originated)
Next, we'll break down the options and characteristics of these two groups and the most common types of supports for each of them.
Manual Positives: Types and Characteristics
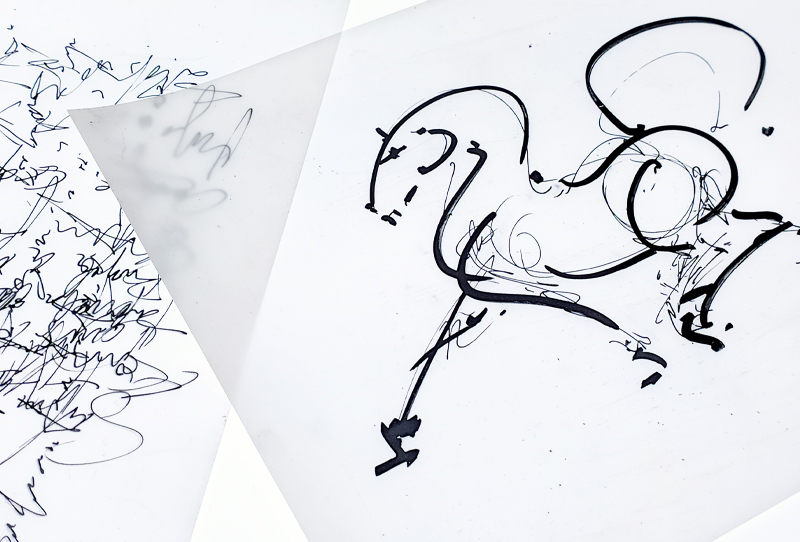
To create an autographic positive, all you need is a translucent support and materials that provide opacity and adhere to these supports, also you can work with actinic materials designed for this purpose.
Drawing Materials for Creating Manual Positives
- Dry Drawing Techniques: Crayons, oil-based pencils, lithographic crayons, oil sticks. Any opaque material will work.
- Liquid Drawing Techniques: India ink, Chinese ink, gouache, acrylic, lithographic ink, alcohol-diluted toner, etc.
- Cutouts and Collage: You can use cutouts from other positives and/or opaque supports to assemble manual positives.
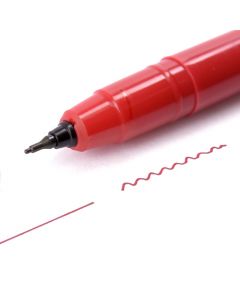
- Actinic Markers: These markers are specifically designed for manual creation and retouching of positives. The type of ink in these opaque markers does not allow ultraviolet light to pass through.
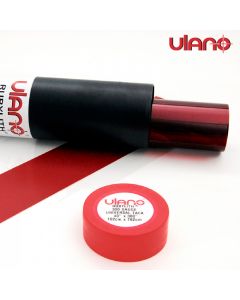
- Cutting Film or Actinic Masking Film: This type of film is designed for creating positives. It consists of actinic film attached to a transparent acetate. It can be manipulated by cutting the mask and removing the parts. It produces highly detailed images."
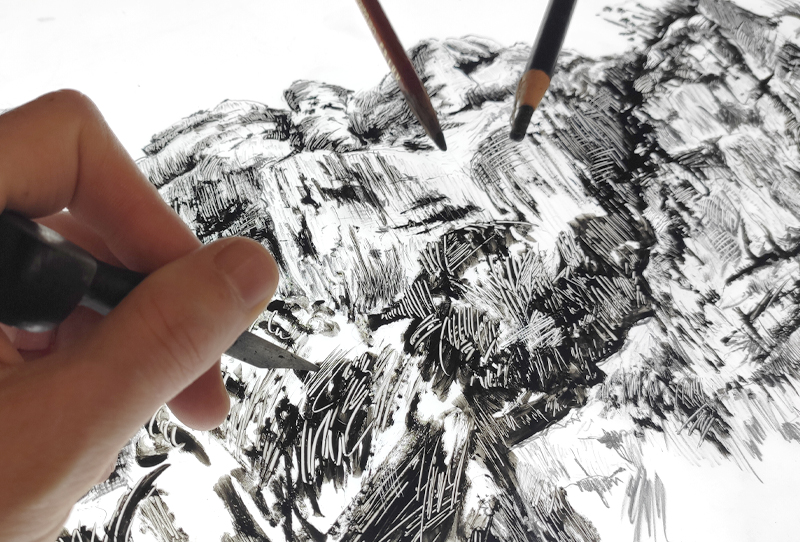

Manual positive created using greasy autographic materials on matte polyester
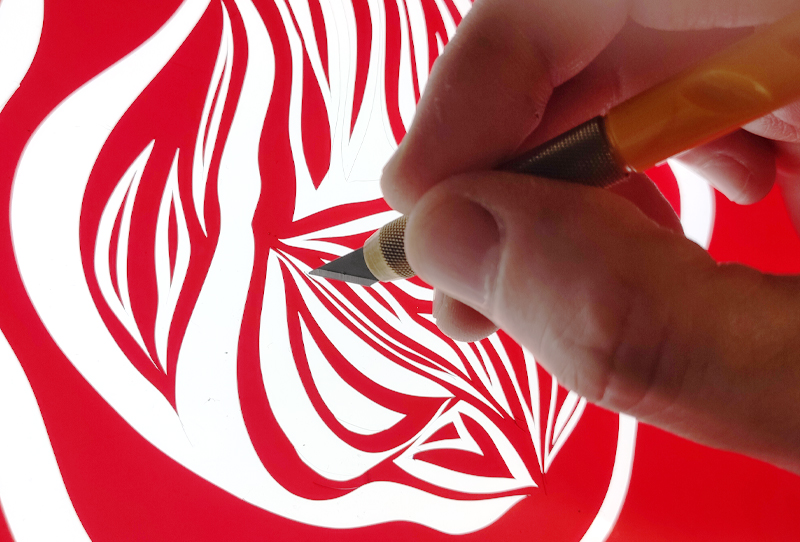

Manual positive created by cutting using Ulano Rubylith Film
Supports for Creating Manual Positives
- Mounting Acetate or Astralon: This is a transparent plastic film, approximately 80 or 100 microns thick, usually made of polyethylene or PVC. Perfect for use with markers, greasy drawing materials (such as pencils or lithographic crayons). It is highly suitable for assembling and composing manual positives.
- Matte Polyester: Although specifically designed for laser printing, it is a good support for working with both dry and wet materials. It is a thermosetting material and does not deform with moisture.
- True Grain or Grained Supports. True Grain is a material similar to matte laser printing polyester but is designed for manual graphic work. It's perfect for use with any drawing material, transferring all the details. Grained supports that maintain transparency and allow for grip of drawing media can also be used.
- Tracing Paper and Onion Skin Paper: These are two semi-translucent supports that can occasionally be used for creating manual positives, although we do not recommend them for use with wet techniques as they tend to wrinkle.
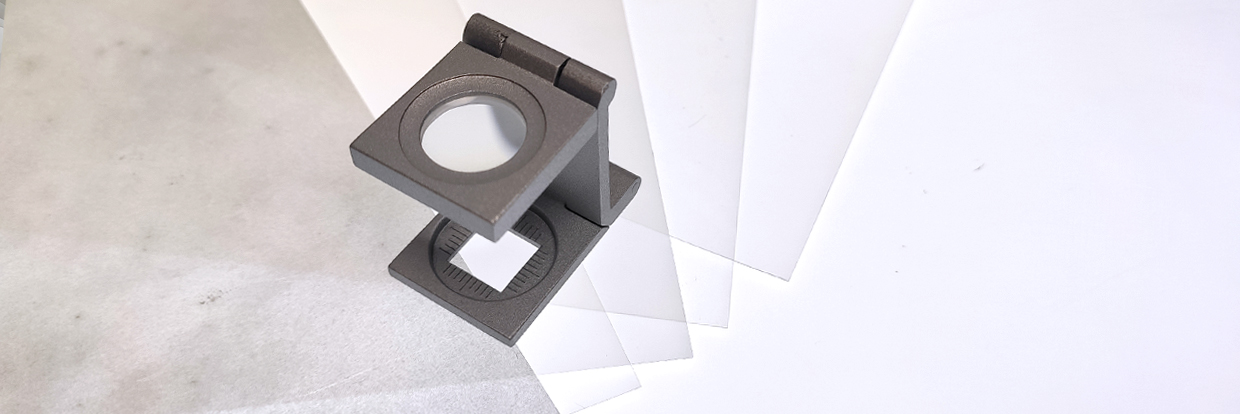

Digital Positives: Types and Characteristics
We'll refer to digitally managed positives or digital positives as those we handle digitally before obtaining them. We are talking about digital positives and not digital printing positives because, as we will explain below, there are manufacturing methods that are not strictly a printing process.
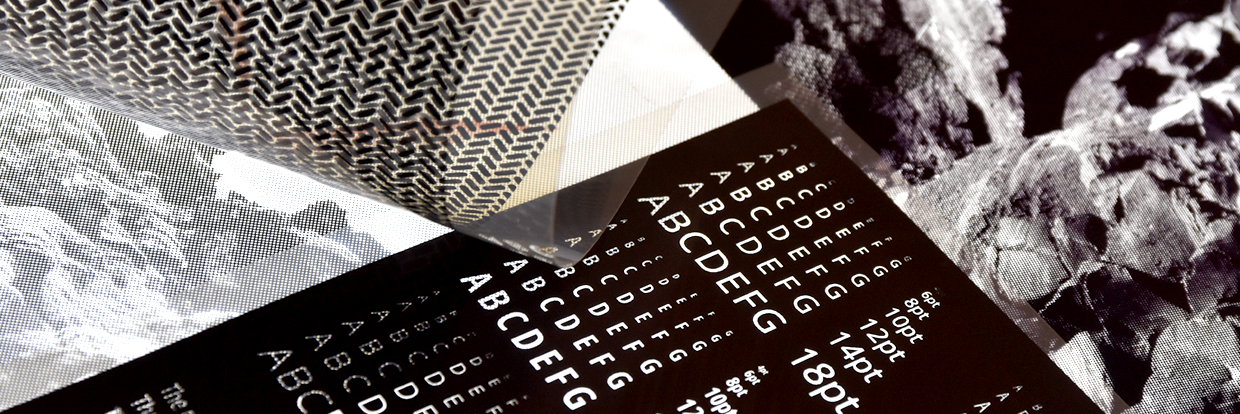

Note: It's important to consider that the images obtained through these systems may not necessarily have a digital origin but have been digitally captured using a digital input device. Here's a clear example: we can obtain a digital positive from a drawing that was originally created using autographic means, such as pencils. However, to achieve this, we need to use a digital input device to capture that image and manipulate it digitally before obtaining the positive, such as a scanner, for instance.
The positives obtained from digitally sourced images can be categorized based on the manufacturing technology:
Electronic Imaging Photolits
These positives are obtained through the development of a high-contrast transparent photographic film. They offer the best performance but are also the most expensive. Their use was widespread in printing and the graphics industry. These positives are manufactured using cameras that use a laser light source on a photographic film, which is later chemically developed. The result is a high-quality black and white image on a transparent film. Unfortunately, there are fewer and fewer machines and technicians dedicated to this process. The cost of maintaining these machines is high, and digital options and technological progress have marginalized this method of positive production.
Laser Printing Positives
These positives are created by using printers or photocopiers that utilize laser printing technology. A photoconductor transfers the image onto the special laser printing film by fixing toner powder using heat and pressure. This printing method offers the advantages of speed, cleanliness, cost-effectiveness, and low maintenance requirements for the machines. However, it has limitations when it comes to printing formats. Laser technology rarely produces positives in sizes larger than A2.
Inkjet Printing Positives
These positives are created by printing the image using printers equipped with inkjet technology. This type of positives offers the advantage of achieving high definition, low costs, and a wide range of format options. Additionally, there are RIPs (Raster Image Processors) and software programs specifically designed to manage these printers for positive printing. The printing inkjet substrate is typically polyester with a special film to retain the inkjet ink.
Thermal Printing or Thermal Film Positives
These positives do not correspond physically to either filming or printing, but this is how they are typically presented in the industry. It is an option that has not gained much traction, especially in the artistic market. It is based on the technology of thermal printers to transfer images onto a suitable translucent substrate. This method has less presence in the market compared to other procedures. The main advantage is that it eliminates the need for ink replacements, reducing consumable costs. However, its major drawback is its limited versatility. A laser printer or an inkjet printer can be found in almost any home or office, and they can be used for various purposes, such as printing an Excel document, a photograph, or a positive. Thermal film printers only serve this specific function.
Formal Characteristics of a Positive: Line Images vs. Continuous Tone
Images as mentioned earlier, another way to classify positives is by considering the formal characteristics of the images. In this case, we can distinguish two main groups:
- Line Images
- Continuous Tone Images
Line images correspond to images with absolute contrast, where the areas are completely opaque without any tonal gradations. In the case of manual positives, these are created using masking film or markers, for example. For digitally originated positives, these would include line art, solid areas, or typography.
Continuous tone images are those that exhibit tonal gradations. In manual positives, this corresponds to images created using dry or wet drawing techniques that include different opacity values through gradations. In the case of digitally originated images, these would include, for example, photographic images.
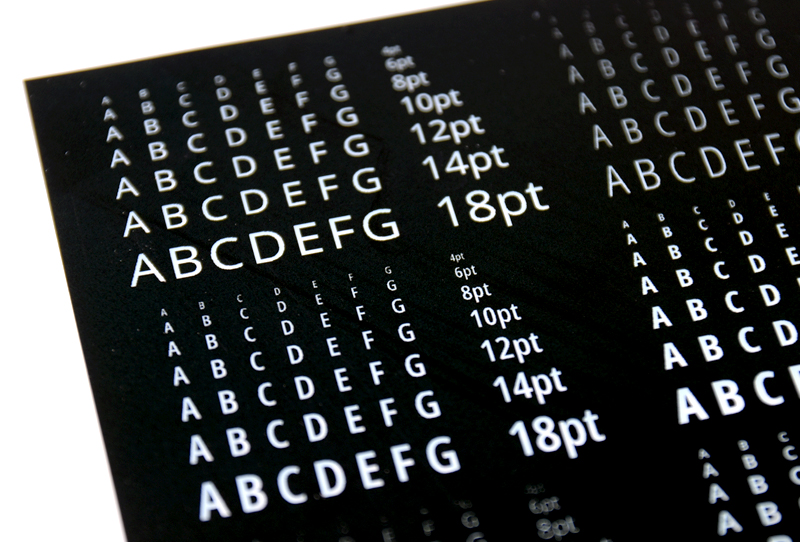

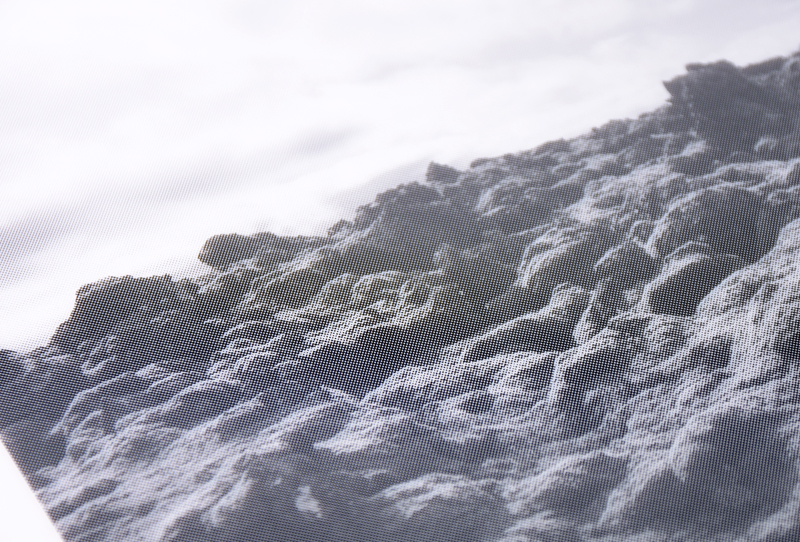

Halftone Positives
To reproduce continuous tone images using graphic techniques, it's necessary to break them down and convert them into halftone images. In some techniques like photogravure, a separate screen is exposed independently of the positive image. However, in most techniques, the positive is halftoned directly.
In broad terms, halftone positives are those that allow simulating continuous tone images through halftone dots, such as a photographic image. Halftone dots are small dots that, depending on their size and spacing, visually create shades of gray. Halftones can be regular AM (varying dot size and spacing) or irregular or FM type. The latter has a more complex structure, with dots always the same size but arranged randomly in space.
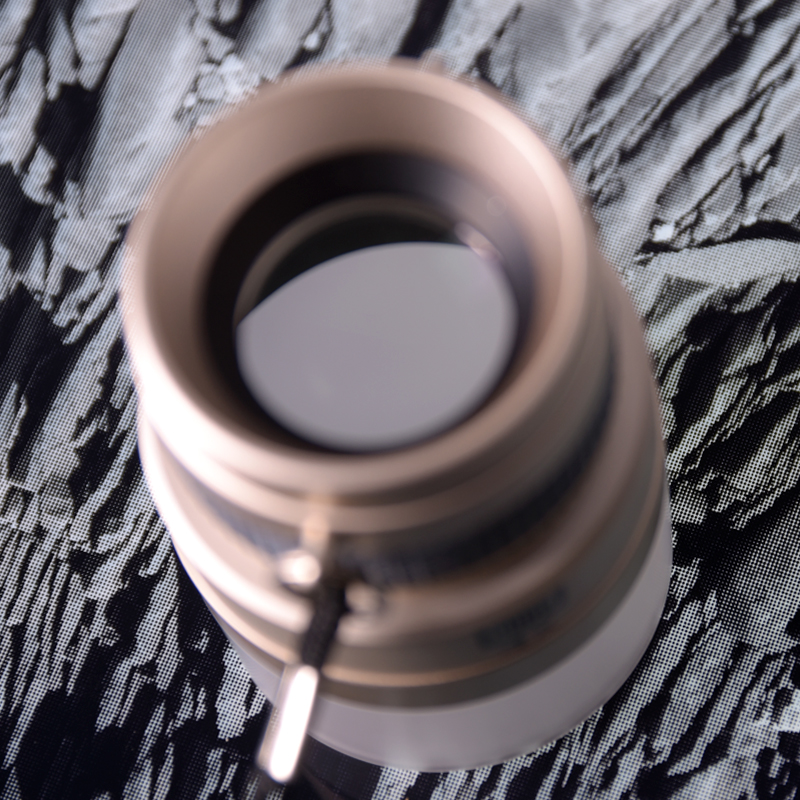

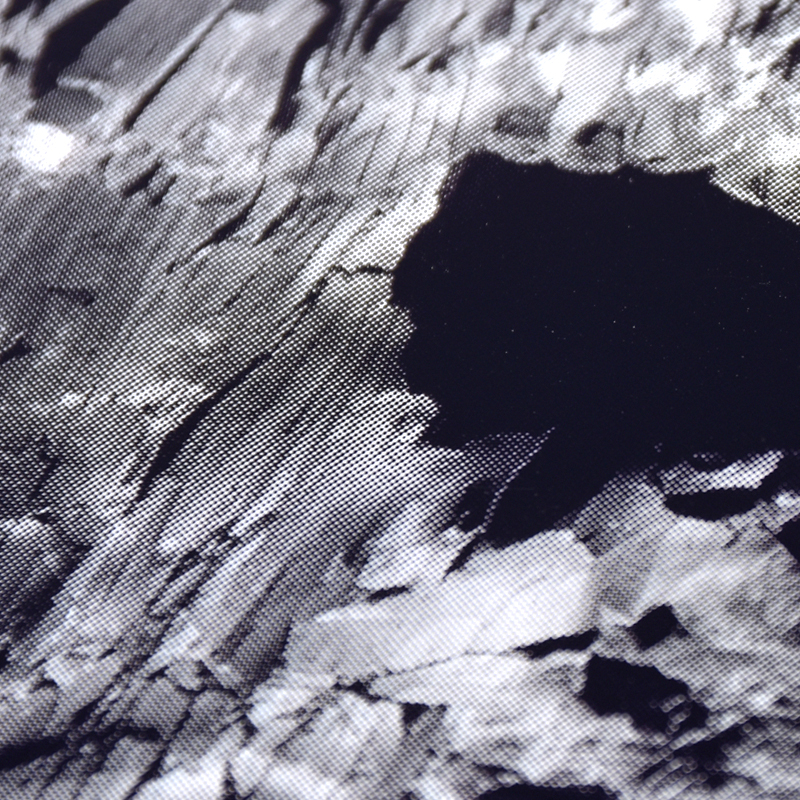

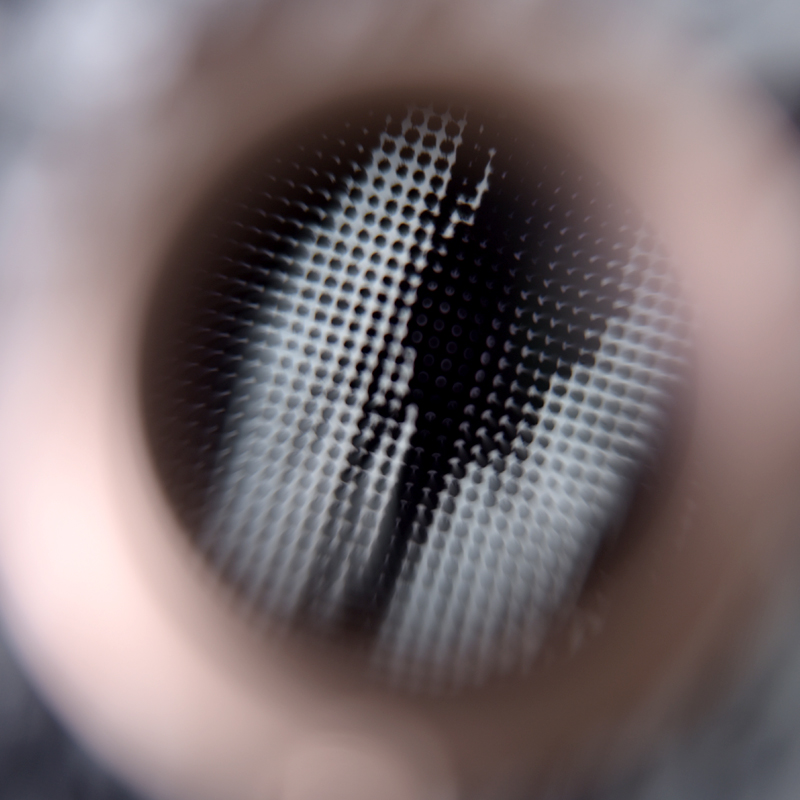

The Importance of Printing Substrates Regarding the Type of Positive
We must always consider the type of substrate we are printing on when creating an image and a positive that suits it. For instance, very fine lines in screen printing may pose challenges when printing on textiles. Conversely, when printing on paper, we can create images with more detail and definition.
For example, the halftone screens that can be applied in screen printing are directly related to the mesh count of the screen. In other words, the number of threads in a screen will determine whether we need to work with positives featuring a smaller or larger halftone dot. More threads allow for smaller halftone dots, which, in turn, provide more detail in the final print. If the halftone screen isn't appropriate for the mesh count, our image will be reinterpreted, resulting in a loss of definition during printing.
Where to Order Your Positives
Now that you have more knowledge about positives, you might be inclined to create your own positives at home. However, if you still require a professional printing service, Rittagraf can assist you by providing expert positive film printing services. As experienced users of all these techniques, we understand how to work with images and what works best for each technique. If you need a positive printing service and are unsure, please don't hesitate to get in touch with us or place your orders here:
- Positive Film Printing for screen printing
- Positive Film Printing for photogravure
- Positive Film Printing for letterpress
- Positive Film Printing for cyanotype or antique photographic techniques
Materials for Creating Positives
Here, we provide a list of links to interesting products for those of you who wish to create your own positives, whether they are digital or autographic, made manually.

