® Carlos Alguacil for Rittagraf
Polyester Printmaking: Create Printing Plates with Laser Technology
Polyester printmaking, also known as polyester plate lithography, is an innovative technique that streamlines the traditional lithographic process. Unlike conventional lithography or offset printing, this method does not require chemicals, photo plates, or developing processes.
Thanks to modern laser desktop polyester plates, anyone can create print-ready matrices using greasy ink—achieving professional-quality results without the need for a dedicated print lab.
In this tutorial, we guide you step by step through the process of working with these polyester plates: from printing the image to the final impression.
What Is Polyester Printmaking?
Polyester printmaking is a contemporary planographic technique that uses polyester plates as the printing matrix. Originally developed for the offset printing industry, these plates have been embraced by printmakers and graphic artists for their versatility, low cost, and ease of use.
Unlike traditional lithography, polyester printmaking eliminates the need for photoliths, UV exposure units, or chemical developers. It is a planographic printing method based on the same principle as lithography: the natural repulsion between water (in the non-printing areas) and greasy ink (in the printing areas).
There are three main ways to work with polyester plates in this technique:
- Drawing directly on the plate with suitable materials (we’ll cover this in a future tutorial).
- Printing digital images onto the plate using a laser printer.
- Combining digital and analog methods in a hybrid workflow.
In this tutorial, we focus on creating polyester printing plates using a standard home laser printer.
Polyester Printmaking and Less-Toxic Methods: Origins and Key References
Since the late 1990s, polyester printmaking has been part of a growing movement toward printmaking techniques that aim to reduce health risks and minimize environmental impact. For this reason, it is often associated with the term non-toxic printmaking, although a more accurate term might be less-toxic printmaking.
For those interested in a more technical and critical perspective, we recommend the book Poliestergrafía: la litografía expandida, by Juan Carlos Ramos and Bethânia Barbosa. This publication offers a thorough and systematic exploration of polyester plate lithography, addressing key issues and becoming a key reference in the field.
In their introduction, the authors explain that the motivation to reduce exposure to hazardous materials was a major driver behind the development of more sustainable, workshop-safe methods. Their approach blends technical rigor, practical experience, and critical reflection, making it one of the most comprehensive works available on the subject.
The development of polyester printmaking would not be complete without mentioning early pioneers such as George Roberts, who in 1998 published Non-Toxic Polyester Plate Lithography in Printmaking Today, and Keith Howard, who included this method in his well-known book Non-Toxic Intaglio Printmaking. In 2001, Roberts went on to publish Polyester Plate Lithography, a book fully dedicated to this technique.
How to Create a Polyester Plate with a Home Laser Printer
One of the main advantages of this technique is that you can easily create your own printmaking plate at home, without the need for a specialized lab. All you need is a laser printer (or laser copier), a polyester plate, and a few basic printmaking tools.
These polyester plates—often referred to in the industry as desktop printing plates—are specially coated to be compatible with laser printing technology. They allow you to fuse the image onto the surface using standard black-and-white laser printers or copiers, without any need for photomechanical processes.
Laser printers work by applying a fine plastic-based powder called toner, which is fixed to the surface of the plate through electrostatic charge and heat. While toner is not greasy, it is hydrophobic—meaning it repels water—which makes it ideal for planographic printing techniques such as polyester lithography.
Originally developed for offset printing workflows, desktop printing plates have been repurposed by artists for creative and experimental uses. This makes them an excellent choice for low-toxicity, lab-free printmaking with professional results.
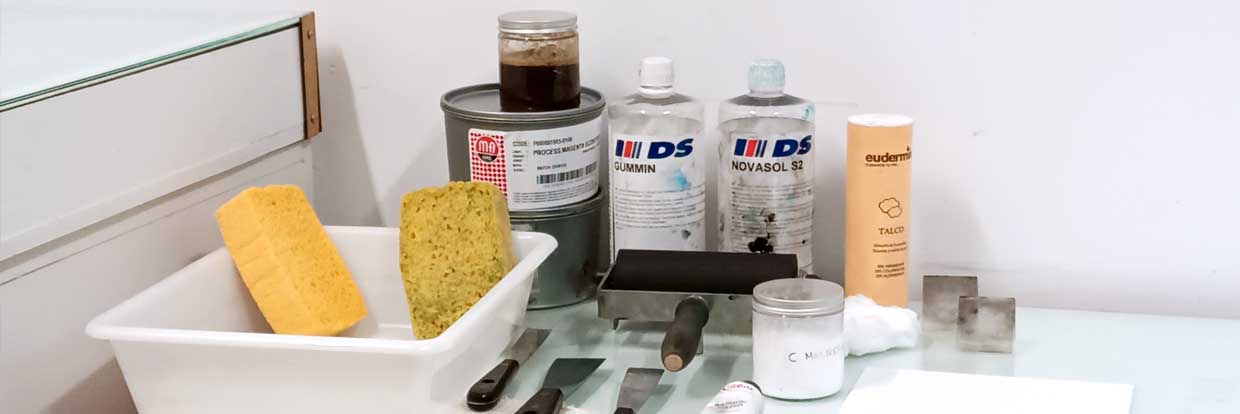
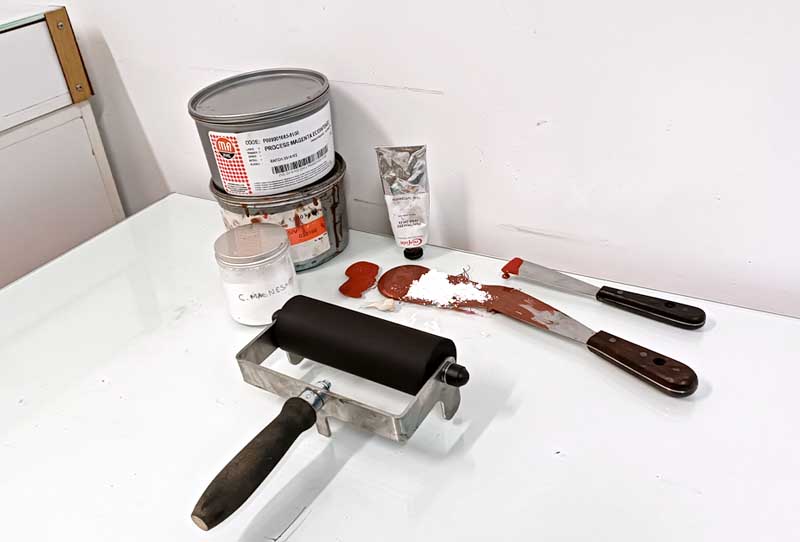
Materials Needed for Polyester Printmaking Using a Laser Printer
To get started with polyester plate printmaking using a laser printer, you’ll need just a few accessible materials. One of the main advantages of this technique is its simplicity and adaptability to a wide range of workspaces.
Here’s what you’ll need:
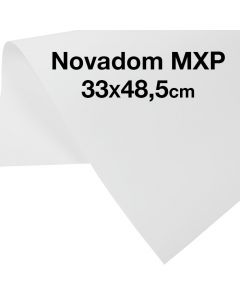
- Laser-compatible polyester desktop plates (such as Novadom, Myriad2, etc.)
- Black and white laser printer (or laser photocopier)
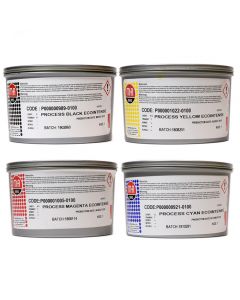
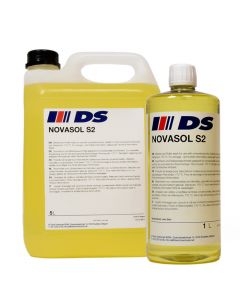
- Greasy ink (lithographic, offset, or even some intaglio inks)
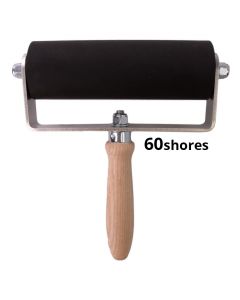
- Inking rubber roller
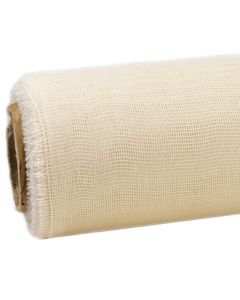
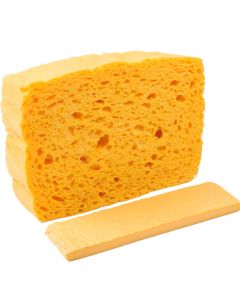
- Sponges (natural or synthetic, suitable for lithographic work)
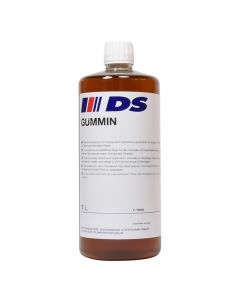
- Water with a small amount of gum arabic
- Paper for printing (coated offset paper, Japanese paper, or other fine printmaking papers)
- Printing press (etching press, litho press, or manual pressure with a baren)
You don’t need a darkroom or exposure unit. This is a low-tech, lab-free technique that’s ideal for contemporary artists and educators alike.
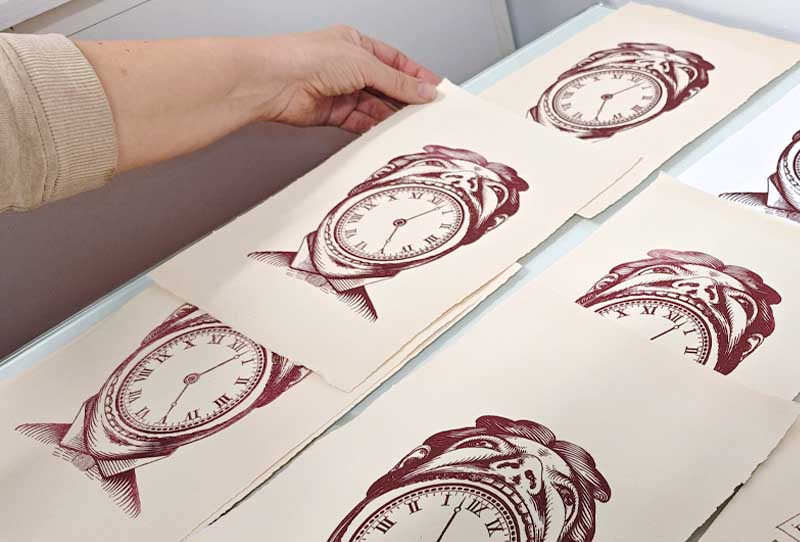
Step-by-Step Process for Printing with a Polyester Plate
In this section, we’ll walk you through the full printing process using a desktop printing plate created with a home laser printer. This is a straightforward method that offers a lot of control, even for those new to printmaking.
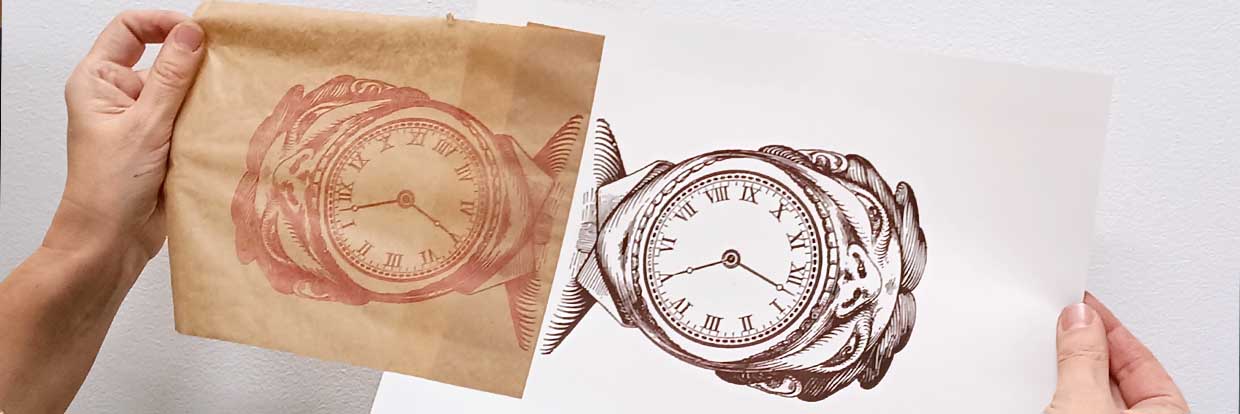
1. Imprimir la plancha
Selecciona una imagen que desees estampar. Utiliza un software de edición para convertirla en blanco y negro o escala de grises, con buen contraste, ajusta el tamaño y transfiérela a la plancha de poliéster mediante impresora láser o fotocopiadora láser.
Las zonas negras atraerán la tinta grasa; las zonas blancas, si están bien humedecidas, la rechazarán.
Consejo: Para comenzar, recomendamos trabajar con imágenes pluma (de alto contraste). Las imágenes digitales de tono continuo requieren ajustes técnicos más avanzados.
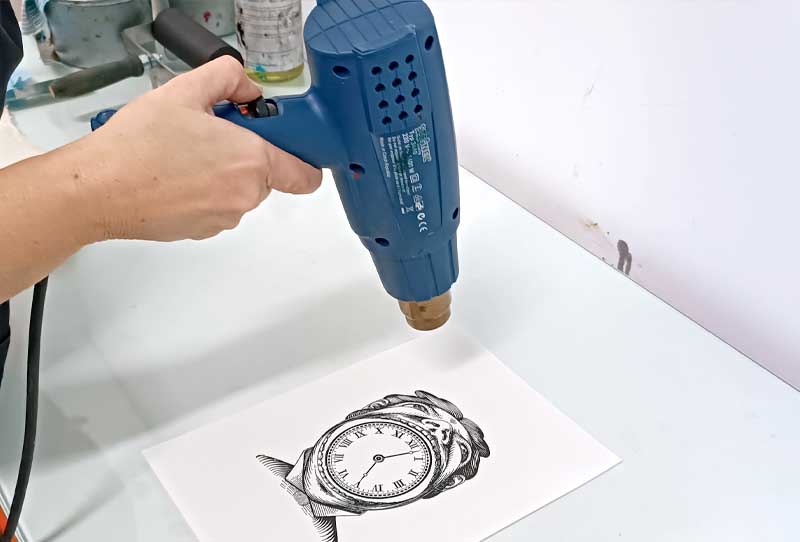
2. Fix the Toner
Not all laser printers apply enough heat to fully fuse the toner onto the plate. After printing, check the image: if the toner rubs off easily, it’s not fully set.
Use a heat gun or a household iron (no steam) to fix the image further.
Apply heat evenly and avoid overheating the plate.
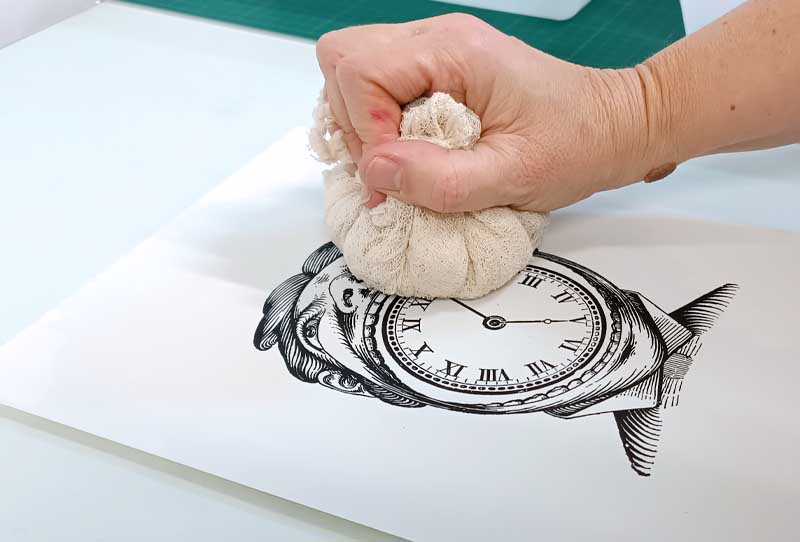
3. Apply Gum Arabic
Do you need liquid gum arabic solution. Apply it to the entire surface of the plate using a sponge. This layer helps maintain moisture and keeps the non-image areas ink-free.
Let it dry or gently wipe off the excess before printing.
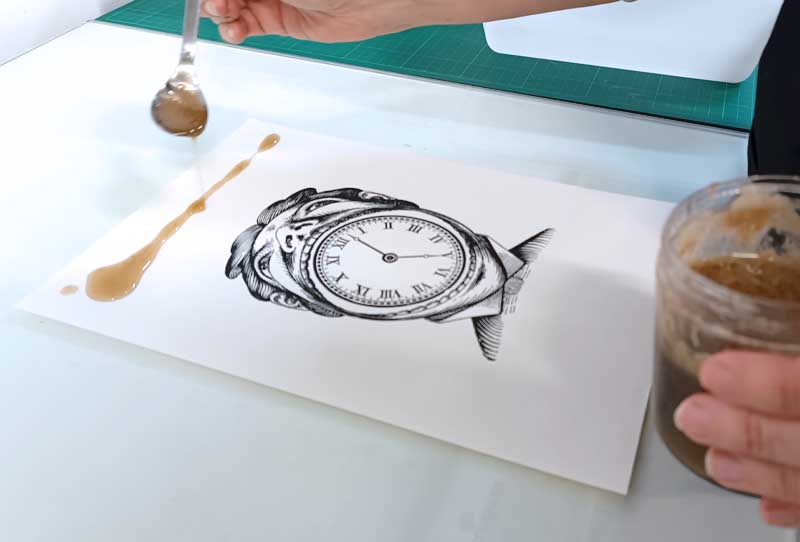
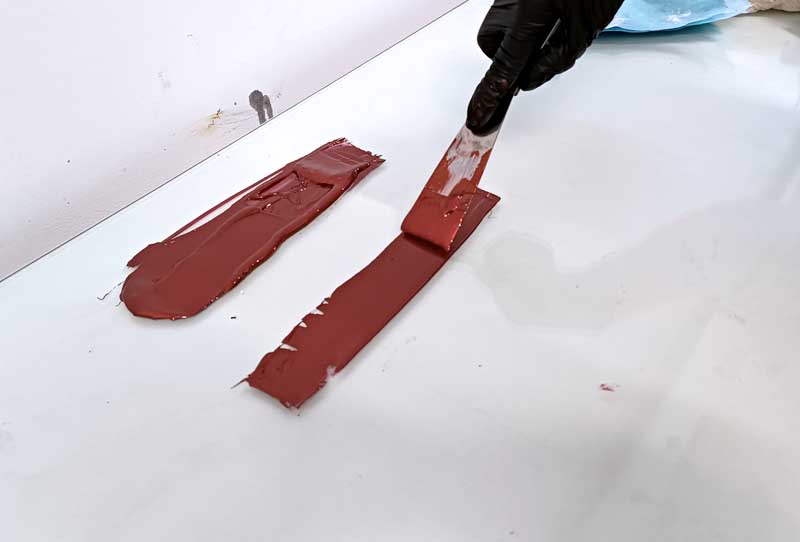
4. Prepare the Ink
These plates are compatible with all types of oil-based inks: offset inks, lithographic inks, and even greasy intaglio inks. While we recommend using offset inks, the key characteristics to look for are:
- Good adhesion on dry surfaces
- High resistance to water
For best results, we recommend using a short and stiff ink, which you can adjust by modifying its viscosity with magnesium carbonate:
- Add magnesium carbonate to the ink and mix thoroughly with a metal spatula.
- Spread the ink flat and evenly on a non-porous surface, such as glass or marble.
- Lay out one or several thin lines of ink across the surface.
Use the roller to load the ink gradually, forming a thin and even film.
Avoid overloading the roller, as it may cause smudging in non-image areas. Hard rollers release less ink, while soft rollers load more quickly but may oversaturate the image.
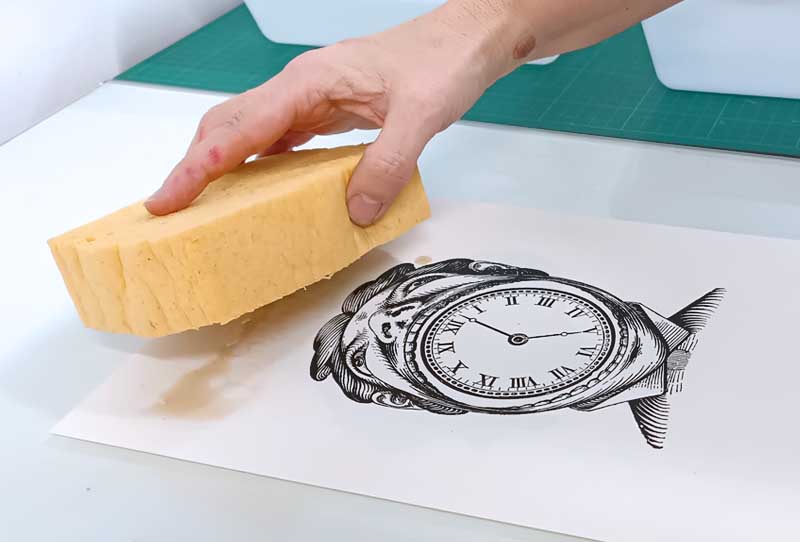
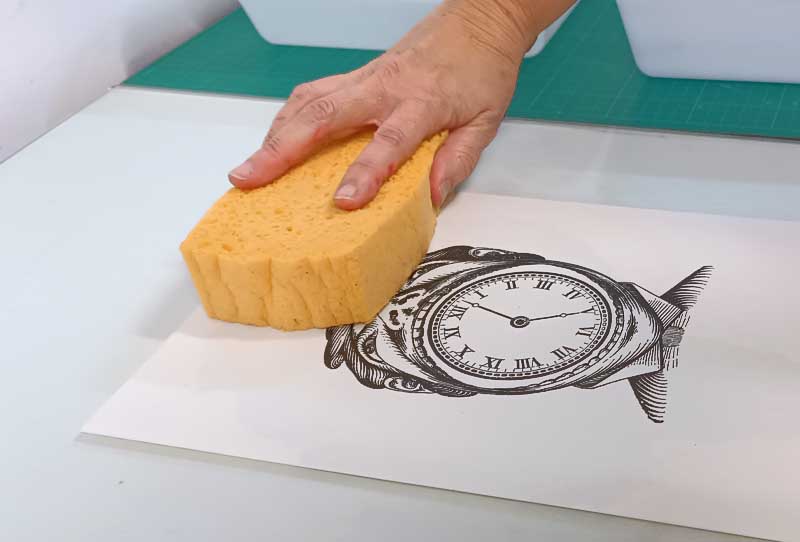
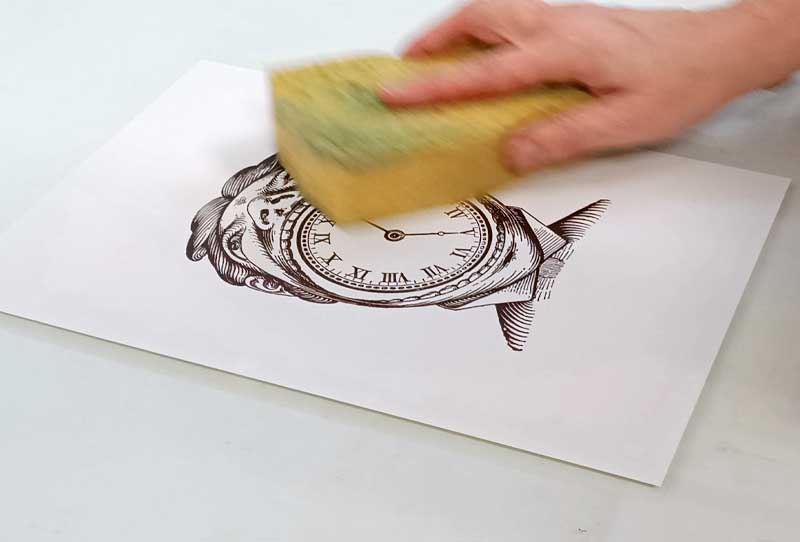
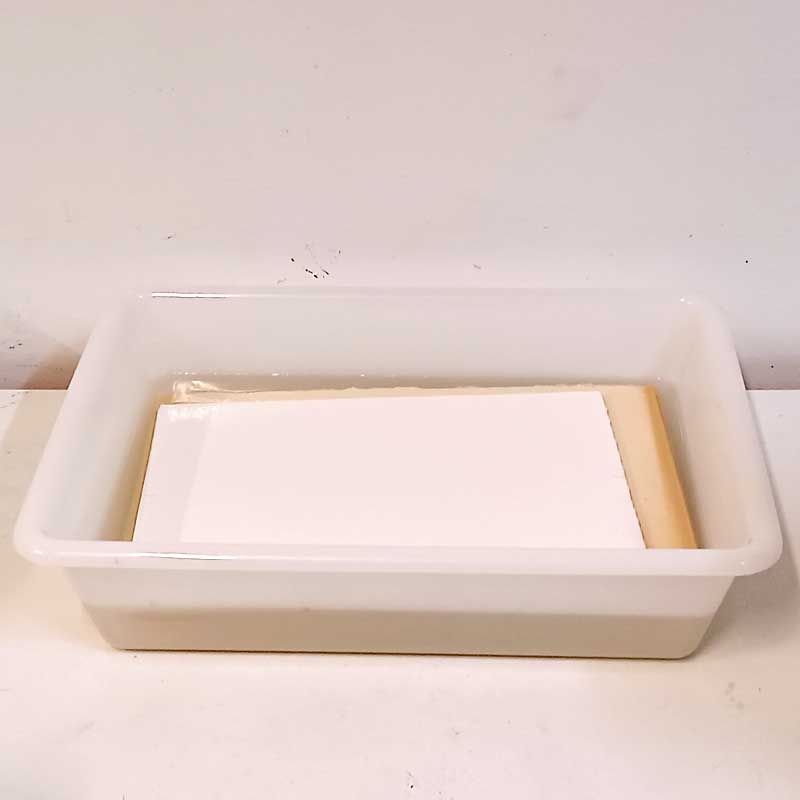
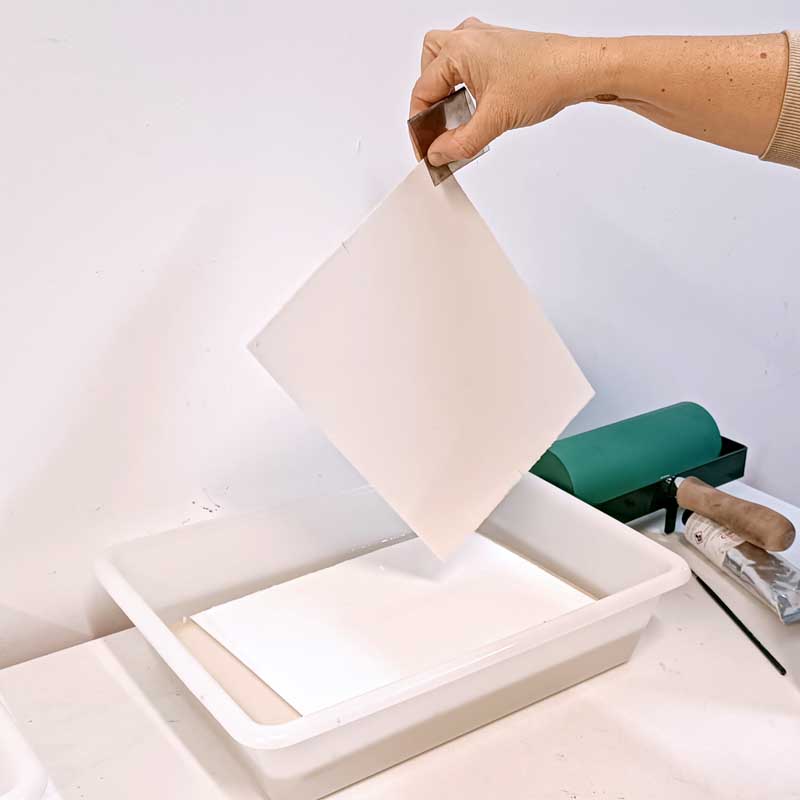
5. Dampening the Plate
Before inking, you must dampen the surface of the polyester plate with a clean, moist sponge. Use fresh water or water mixed with a small amount of gum arabic.
Maintain a thin and consistent film of moisture over the non-image areas. This moisture acts as a resist, preventing the ink from adhering to those zones during the inking process.
Maintaining the right water balance is key to achieving a clean print in planographic techniques.
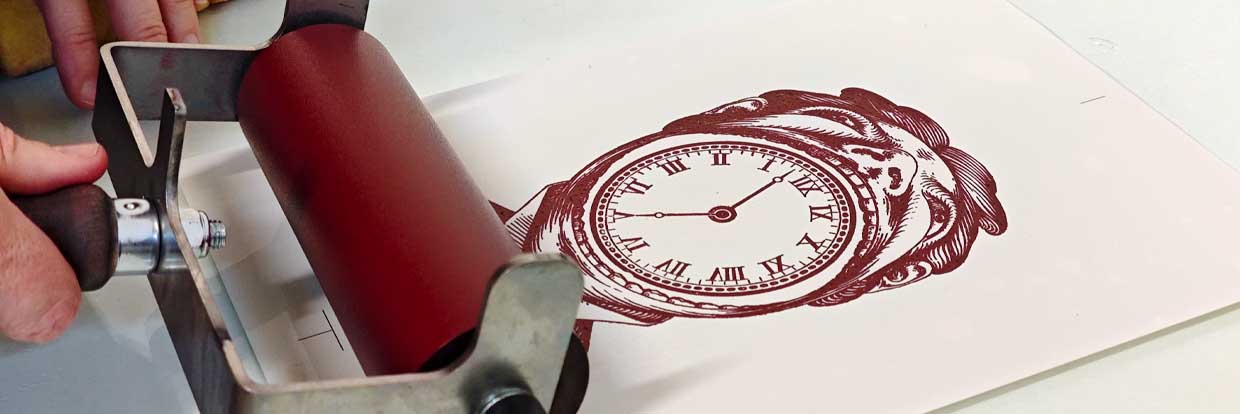
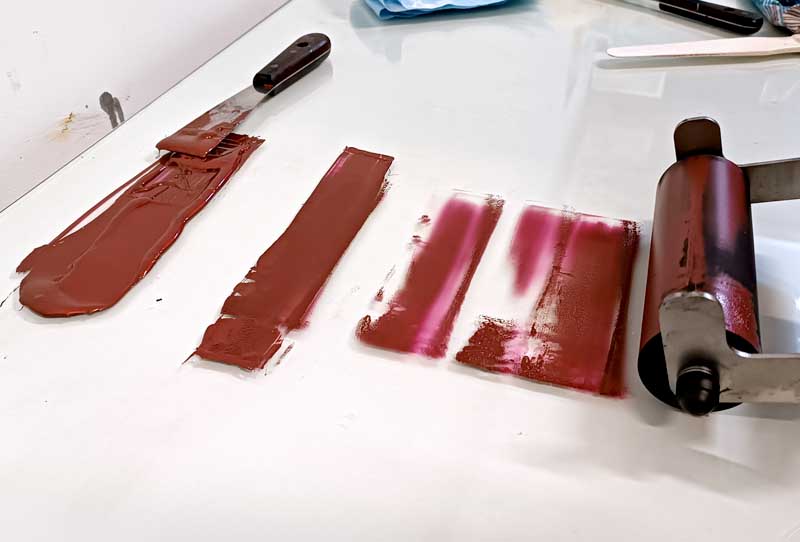
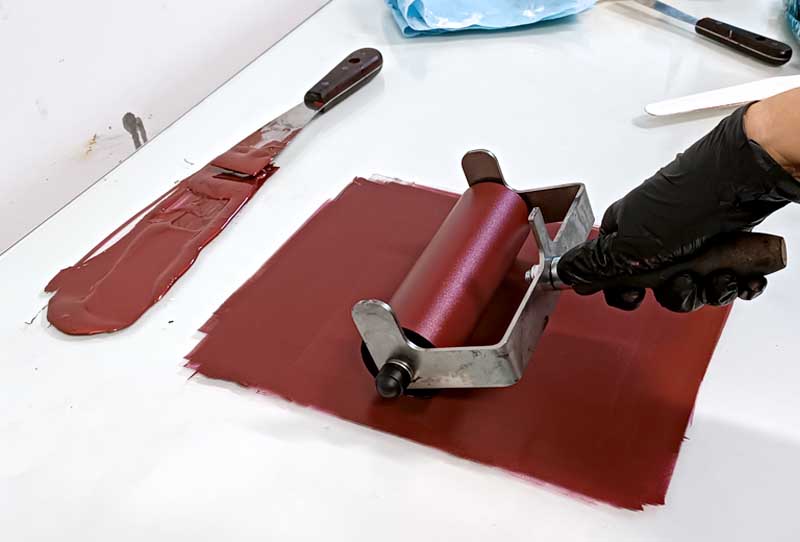
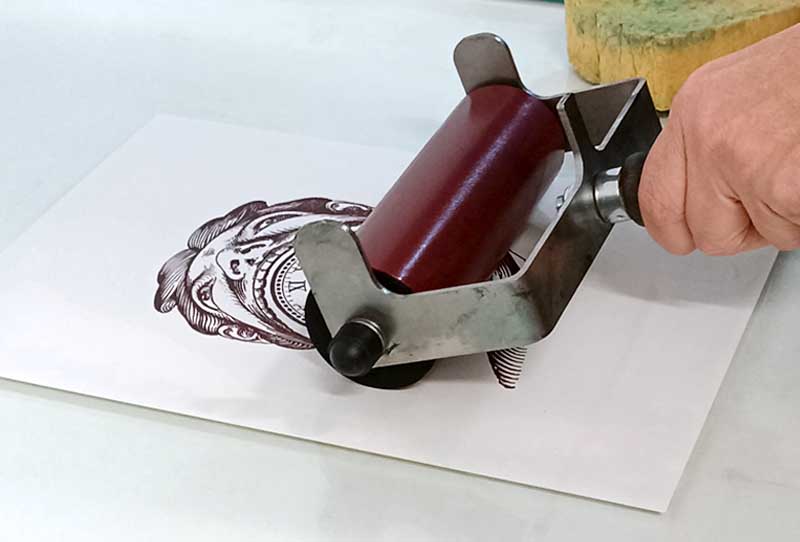
6. Rolling Out the Ink
Use a medium or soft inking roller to distribute the ink. Begin by rolling it over the prepared ink lines until you achieve a smooth, even film.
It’s important to load the roller gradually, avoiding excess ink that could flood the plate. The goal is to maintain a fine, controlled layer of ink.
7. Preparing the Paper for Polyester Plate Printing
The paper you print on is just as important as the plate itself. The choice and preparation of the paper will directly affect the transfer, sharpness, and registration of the printed image.
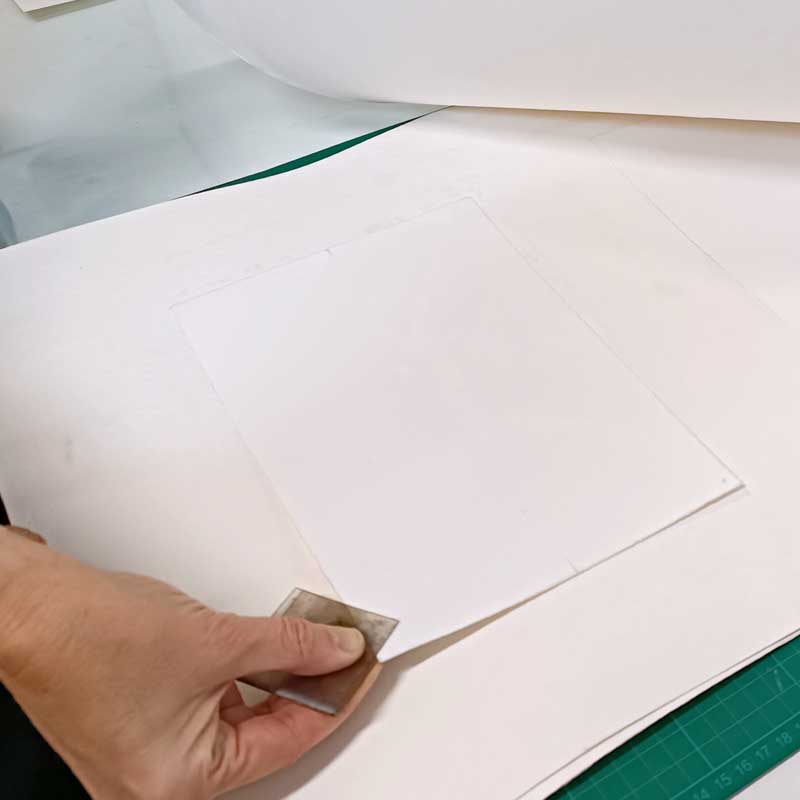
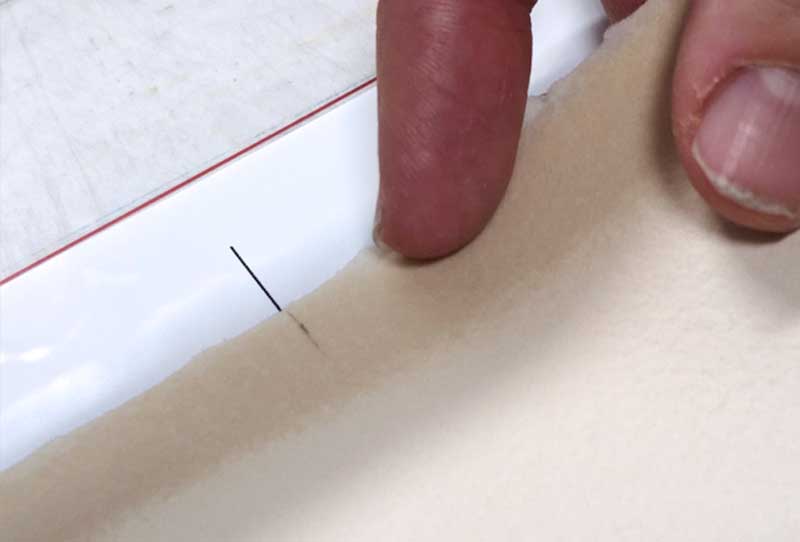
1. Cutting and Sizing the Paper
We recommend cutting and preparing your paper before inking the plate. Use sheets that are slightly smaller than the plate, which makes manual registration and positioning easier and more precise.
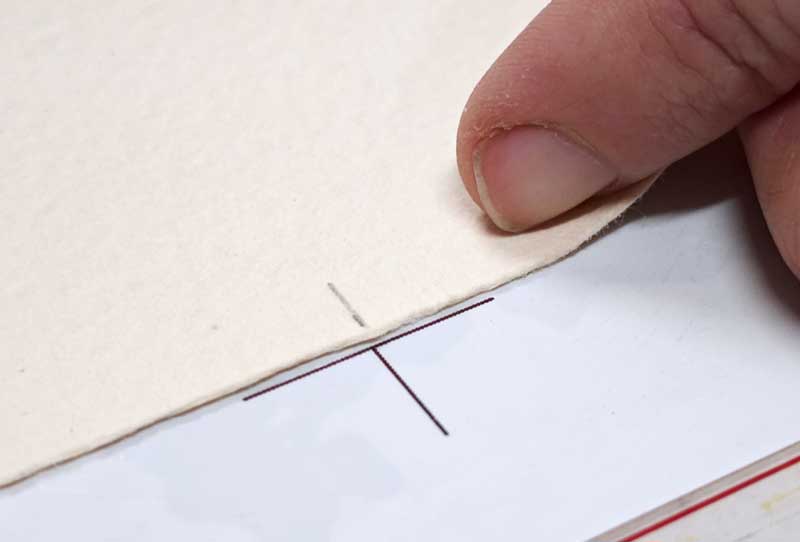
2. Registering the Paper
We use a T-registration system, which is common in lithography:
- Mark a horizontal baseline at the bottom of your paper with a pencil.
- Draw a vertical centerline on the back of the paper (acts as a central guide).
- This system works even when printing with damp paper, since any expansion or contraction can be controlled by repeating consistent humidity and pressure conditions.
3. Dampening the Paper
Not all papers need to be dampened. It depends on the type of substrate and the pressure used during printing:
- Coated or satin-finished industrial papers (e.g., offset or coated stock): do not dampen.
- Japanese papers: if dampened, do so very lightly and only on the reverse side.
- Traditional printmaking papers (cotton, 250–300 gsm): can be dampened, but should be left to rest between blotting papers before printing.
The goal is to achieve flexibility without excess moisture. The paper should feel damp, not wet.
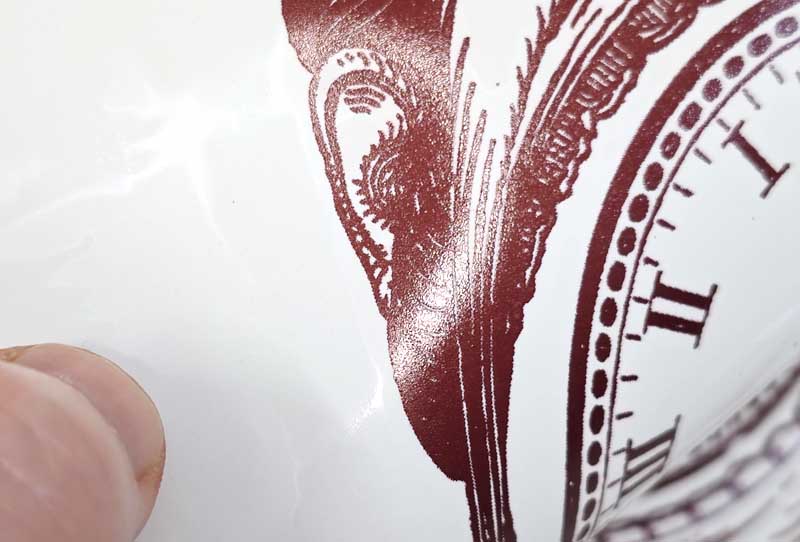
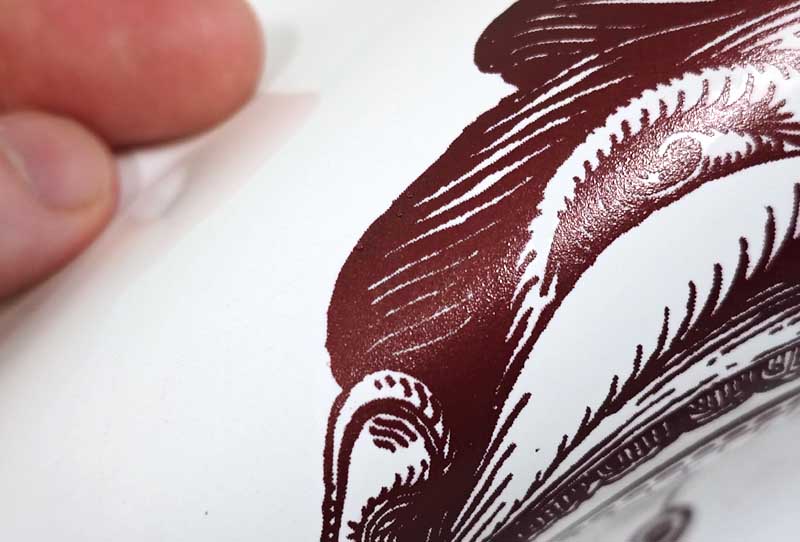
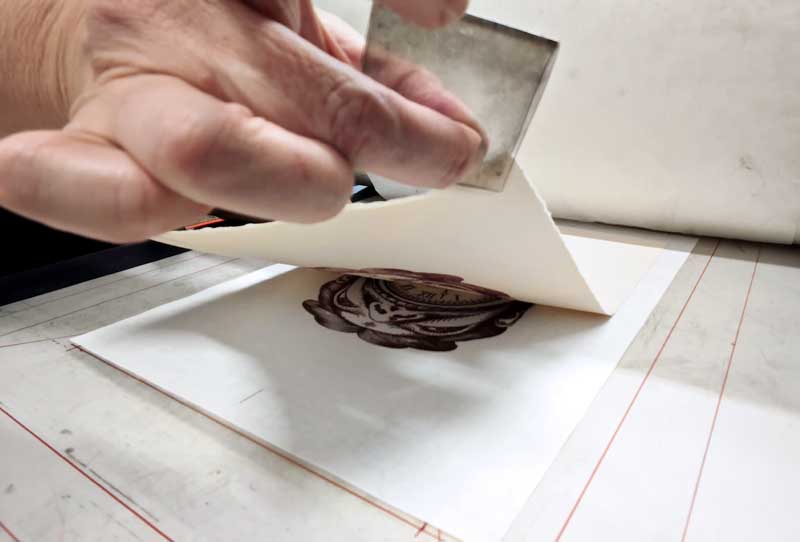
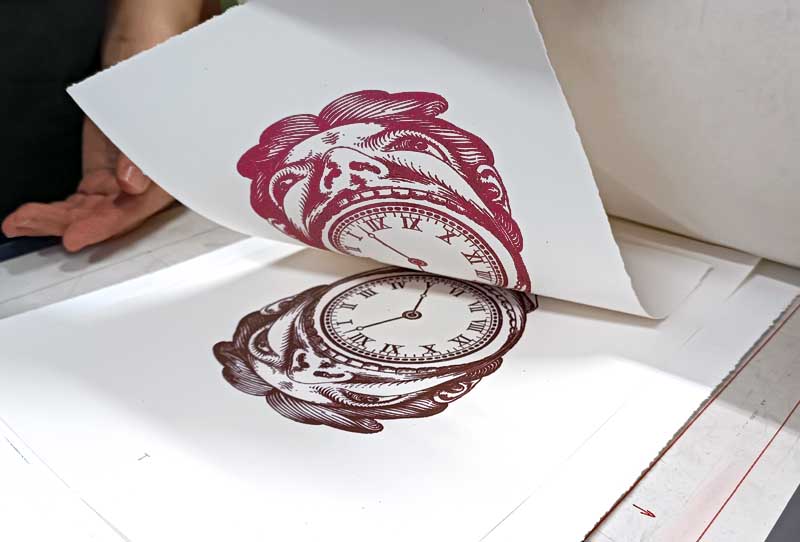
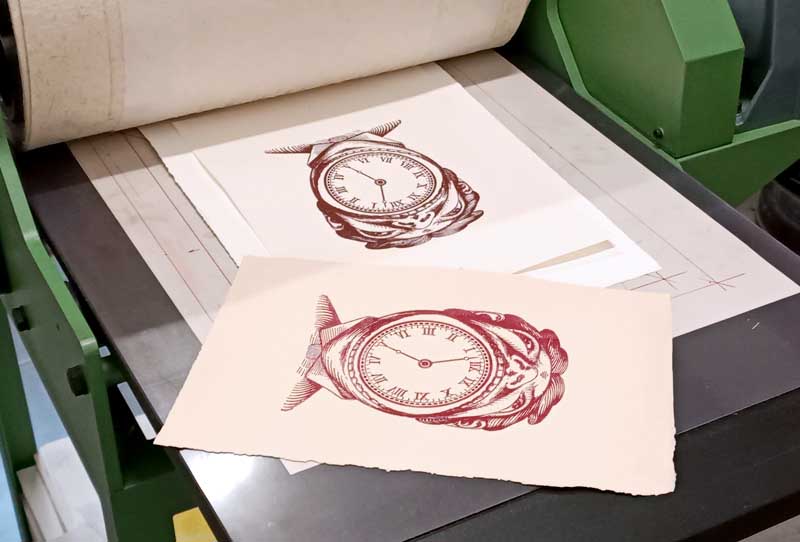
8. Registering and Printing the Image
Once the plate is inked and the paper is prepared, adjust the pressure on your etching press or manual printing system.
- Place the plate face-up on the press bed.
- Lay the paper on top (either dry or slightly damp, depending on the type).
- Add a protective sheet (e.g., manila or tracing paper).
- Place the blankets or felts, and proceed to print.
You can also print manually using a Japanese baren, an American baren, or a clean brayer, especially when working with thin papers like washi. The key is to apply steady, even pressure to ensure complete and accurate image transfer.
Below, we’ve listed some of the key products to help you get started with polyester printmaking.